DIY Stone Veneer Installation Guide
/Over-grouted Stone Veneer Tutorial
Stone veneer is an excellent way to add texture, dimension, and rustic charm to a room. Plus, it’s budget-friendly, makes a big visual impact, and is totally DIY-able! Stick around for my step-by-step guide on how to install stone veneer yourself.

As an Amazon Associate, and partner with other brands, I earn from qualifying purchases. This post may contain affiliate links, meaning I receive commissions for purchases made through those links at no cost to you.
I never set out to become a stone veneer expert. Yet, here I am, after what feels like slapping up 20,000 pieces of the stuff, ready to share everything I’ve learned in one beefy burrito of a post.
I first tried stone veneer in our office lobby, tackling walls, a fireplace, and a hearth. Despite some hiccups, it turned out great.

Next, I added veneer to the conference room kitchenette, which turned out even better.

Just when I thought I was done, Lucius pitched his vision for the D&D dungeon. Now, I’ve been busy for the past couple of months installing stone veneer on concrete walls, another brick fireplace, drywall, wood stair risers, and even the ceiling.
So yeah, I’d say I've learned a thing or two. Here’s how you can get the look too.
Materials
- Stone Veneer (flat and corner pieces, if necessary)
- Square Notched Trowel
- Type 1 Mastic Adhesive
- Drill (corded is recommended)
- Mixing Paddle
- 3 5-Gallon Buckets
- Waterproof Gloves
- Painters Tape
- Plastic Drop Cloth or Rosin Paper
- Grout Sponges (buy plenty!)
- Large Stone Mortar
*Quick note: I’ve used the veneer linked above for all our applications. Other types of veneer may have different requirements. Be sure to read the installation directions beforehand if you choose a different type of stone.
Prep Your Surfaces
Start by prepping whatever surface you’re applying the veneer to. On raw drywall, you’ll want to prime first. If your drywall is painted with glossy paint, lightly sand beforehand. Brush off any debris on brick or concrete before starting.
If your stone will terminate into an adjacent wall, the floor, or the ceiling, lay down a couple pieces of painters tape the depth of your stone.
And don’t forget to protect your floors with rosin paper or a drop cloth!
Apply Stone Veneer Adhesive
The great thing about this type of stone veneer is that it sticks to the wall with just type-1 mastic adhesive. This comes pre-mixed in a bucket and couldn’t be easier to apply.

I simply scoop some adhesive onto the flat part of my trowel and skim it across the surface to which the veneer would be applied. Aim to get it 1/8” to 1/4” thick. Then, using the notched side of your trowel, drag it across the mastic to make grooves.
Let the mastic set up for a little while, or dry completely before moving on. This helps keep the veneer from slipping.
Installing Stone Veneer
Using the notched side of your trowel, apply the adhesive to the backside of the veneer.

Then, smoosh it on the wall and twist it slightly to help it adhere. I aimed to keep about an inch between each stone, but it definitely doesn’t need to be exact.

The best part about this DIY is that the more imperfect it is, the better. Try to vary your stones so you’re not using too many of the same shape side-by-side and mix up the directions you’re applying them, too.
Mixing Up Mortar
Once the mastic has dried (I usually give it 24 hours), grab your three 5-gallon buckets and get to work!
Fill one bucket at least halfway with water. This will be used to wash your mixing paddle. Fill the second bucket with as much water as you can carry (you’ll use this to smooth the mortar between the stones). The third bucket will be used to mix the mortar.


Mixing up mortar can seem intimidating, but if you go slowly you’ll be fine. Avoid mixing more than you can handle before it dries - for me, this was about 1/4 to 1/3 of a bucket.
It’s better to mix a little at a time than to try to mix it all at once or you’ll end up with a bunch of unmixed powder at the bottom. Start by pouring a little mortar in the bucket then add a little water and mix with your drill and mixing paddle. You’re aiming for a thick cake batter consistency, so add more water or mortar as needed.
Follow these steps until you have your desired amount.
Applying Mortar to Stone Veneer
Traditionally, I believe the mortar is applied with a grout bag. However, after my experience trying to use one of those on the brick veneer in our loft, I never want to do it again. Because the spaces between the stones are fairly large, I’ve actually found it easiest to apply the mortar with my hands.

I tried to use latex gloves for this, but the mortar is so heavy it pulls them off. While I’ve applied most of the mortar with my bare hands, I definitely don’t recommend it. Recently I bought some snug waterproof gloves and they’re working out really well!
To get the over-grouted look you’ll want to fill the spaces between the stones up completely to the point where some of the mortar is on the edges of the stones. Repeat until all of your mortar mix is gone.
Softening the Mortar Finish
Dip your grout sponge in water and wring it out so it's damp - not dripping wet. Then begin wiping the excess mortar off the surface of the stones. Rinse your sponge frequently and replace it if it begins to flake apart.
I never remove all the mortar from the face of the stones because I like the soft edges it creates. I think this also adds to the over-grouted look. Once the excess is removed, I rinse the sponge and wipe off any leftover haze.

Then, I smooth out the mortar between the stones to even out any obvious finger marks. Repeat until all the mortar is smoothed out.
Lastly, remove any painters tape while the mortar is still wet for a clean edge on your adjacent surfaces.
Stone Veneer FAQs

Is stone veneer easy to install?
YES! I’ve found the installation process incredibly simple. The hardest part is wiping the excess mortar off the stones before it dries - but if you mix small batches and work quickly you’ll be just fine.
Can you put stone veneer on drywall/concrete/brick/cement board/plywood?
I’ve applied veneer to all the surfaces above except cement board, but I think even that would accept it with no problem! As stated above, raw drywall needs to be primed, any surface with glossy paint would need a light sanding beforehand, and brick/concrete just needs any loose debris brushed off first.
Can you cut stone veneer?
YES! We used a wet saw with a carbide blade to cut the stone veneer on the stair risers in the D&D dungeon.

However, sometimes while applying the veneer to a wall you’ll end up with an awkward space between stones - too small for a full stone but too big for mortar. In these cases, I just smacked a stone on the edge of a hard surface (like the corner of the fireplace), used a screwdriver and hammer to break the stone, or simply dropped it on the sidewalk to break it into smaller, irregular pieces.
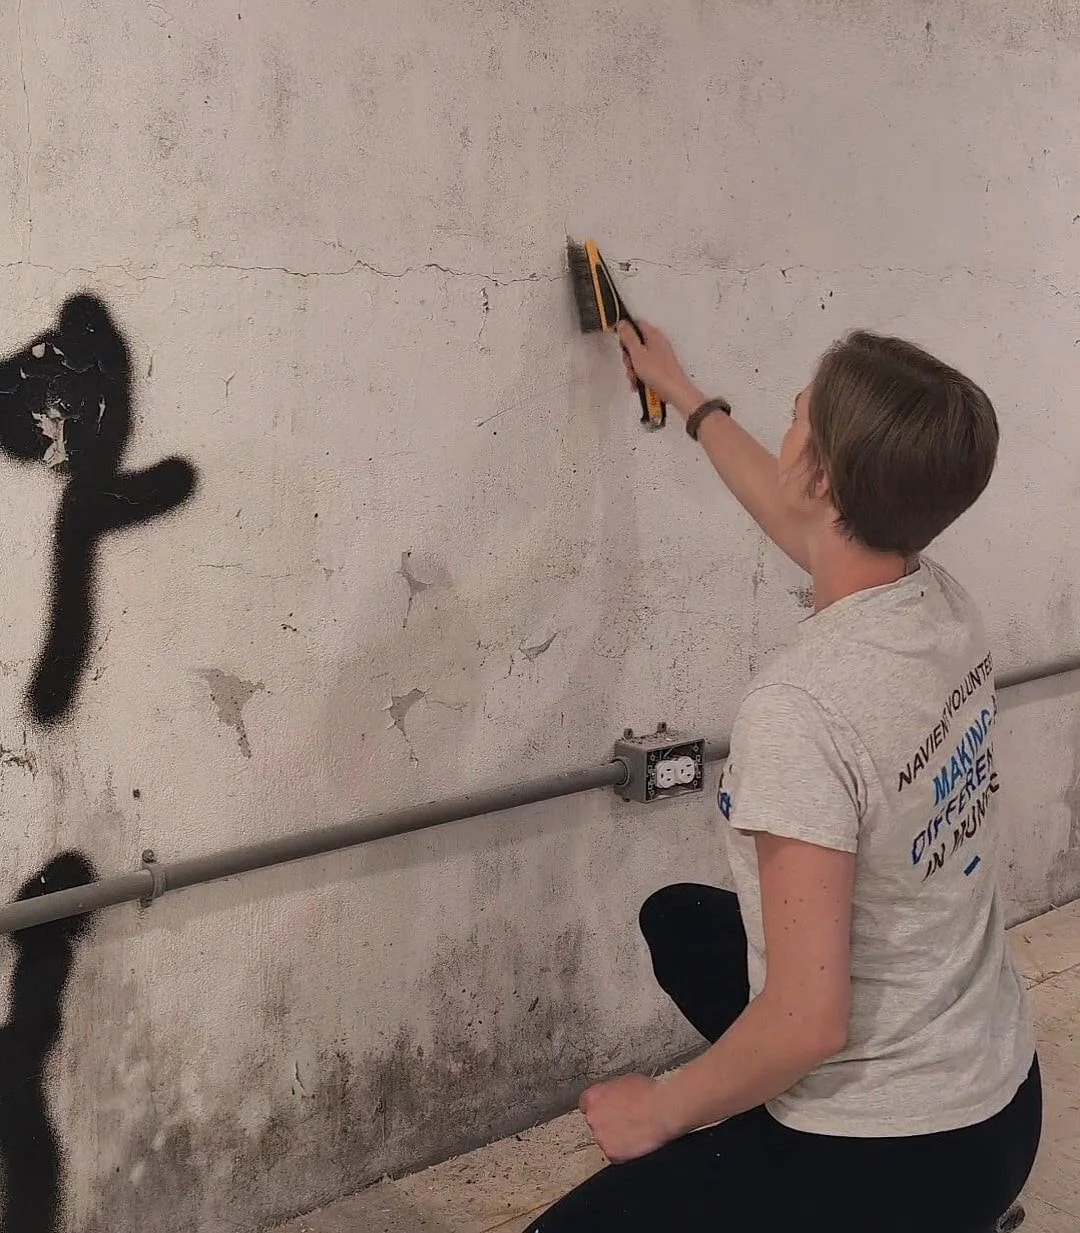
How do you install stone veneer around outlets?
I’m still figuring this one out, honestly. In the conference room and lobby of the office, I mortared up to the outlets. However, I got a little close with the stone in some places and we had to chip it away so the outlet cover could fit on. I back-filled these spots with mortar and they look fine.
A better solution might be to use an electrical box extender.
What colors of mortar are available?
Mortar basically only comes in white or grey - but you can add concrete dye. However, I don’t recommend it.
I dyed my mortar during my first stone veneer excursion because I was afraid the white mortar would be too stark - and I made it pink. Not ideal. (Don’t worry - I was able to fix it, but it definitely wasted some time.)
It’s really tricky to tell what color the dry mortar will end up and if you're mixing more than one batch it’s hard to get the color exactly the same over and over again. (Also, the white actually dries to a lovely soft white tone.)
Why is my stone veneer not sticking?
There could be a few reasons your stones are slipping.

The mastic is too wet. Let the mastic on the wall dry before you begin attaching your stones.
You’re using too much mastic, causing the stones to slip. Wipe a little off, recreate the notches with the trowel, and try again.
You’re not using enough mastic. Add some more and give it another shot.
If you’re still having trouble getting your stones to stay, depending on your surface, you can use drywall screws to keep the stones in place until they dry. I’ve even used painters tape to keep them stable in a pinch! (see below)
Do you need corners for stone veneer?
If you’re covering a corner, then yes!

I used corner pieces on the stairwell in the D&D dungeon and the process is exactly the same as the flat stones. Using these pieces creates a much more natural look than butting two flat pieces against one another.
How do you finish stone veneer by the floor?
It doesn’t seem like painters tape should work to get a clean line with stone veneer and mortar - but it actually does!

In all the instances where I’ve dealt with a transition from stone veneer to the floor, ceiling, or an adjacent wall, I just lay down a couple of pieces of painters tape. Once I’m done mortaring (and while the mortar is still wet), I pull it up, and voila! You’ll be left with a fairly clean line.
What Are You Waiting For!?
Now that I’ve brain-dumped all my stone veneer knowledge on you, I hope you feel confident enough to tackle this project. It really does add a great visual impact to any space at a fairly budget-friendly price.
Is there anything I forgot to cover? Let me know in the comments below!