
Playroom Makeover Reveal
Living Room Turned Playroom
What do you do when you have a formal living room, but you’re not exactly formal living room people? You turn it into a playroom! Dive in to see how I reimagined this space to work for our family.

The Playroom Before
The playroom renovation has been a long time coming - 4.5 years, to be exact!
Before jumping into the reveal, let’s go into the way way back machine and check out how it looked when we first toured the house.


As you can see, the previous owners used this room as a formal living room. We’re fortunate to already have two other living spaces in this house, so a third space to be used as a formal living room just didn’t make sense for us.
With two young kids, we knew this room would be better suited as a playroom. But until we could get around to renovating, it was a hodge podge of the previous owner’s style and “toddler-chic”.


As an Amazon Associate, and partner with other brands, I earn from qualifying purchases. This post may contain affiliate links, meaning I receive commissions for purchases made through those links at no cost to you.
The Playroom After
But after 3.5 years of living here, we got the renovation itch. After an entirely new wall of built-ins, an updated fireplace surround, some new furniture, new flooring (one of our big projects for the year!), and a lot of rearranging, this is what it looks like today:


I love how much more modern this room is now and that it finally fits in with the rest of our house - which means I purposely spend time here instead of avoiding it. Here’s what it took to update this space:
A Fresh Coat of Paint
I started this renovation with the intention of just doing a quick refresh and painting the walls. The gold color we inherited didn’t work with anything else in our home and needed to go. Since this room is very open to the rest of the first floor, I went with one of my favorite neutrals: White Heron by Sherwin Williams.
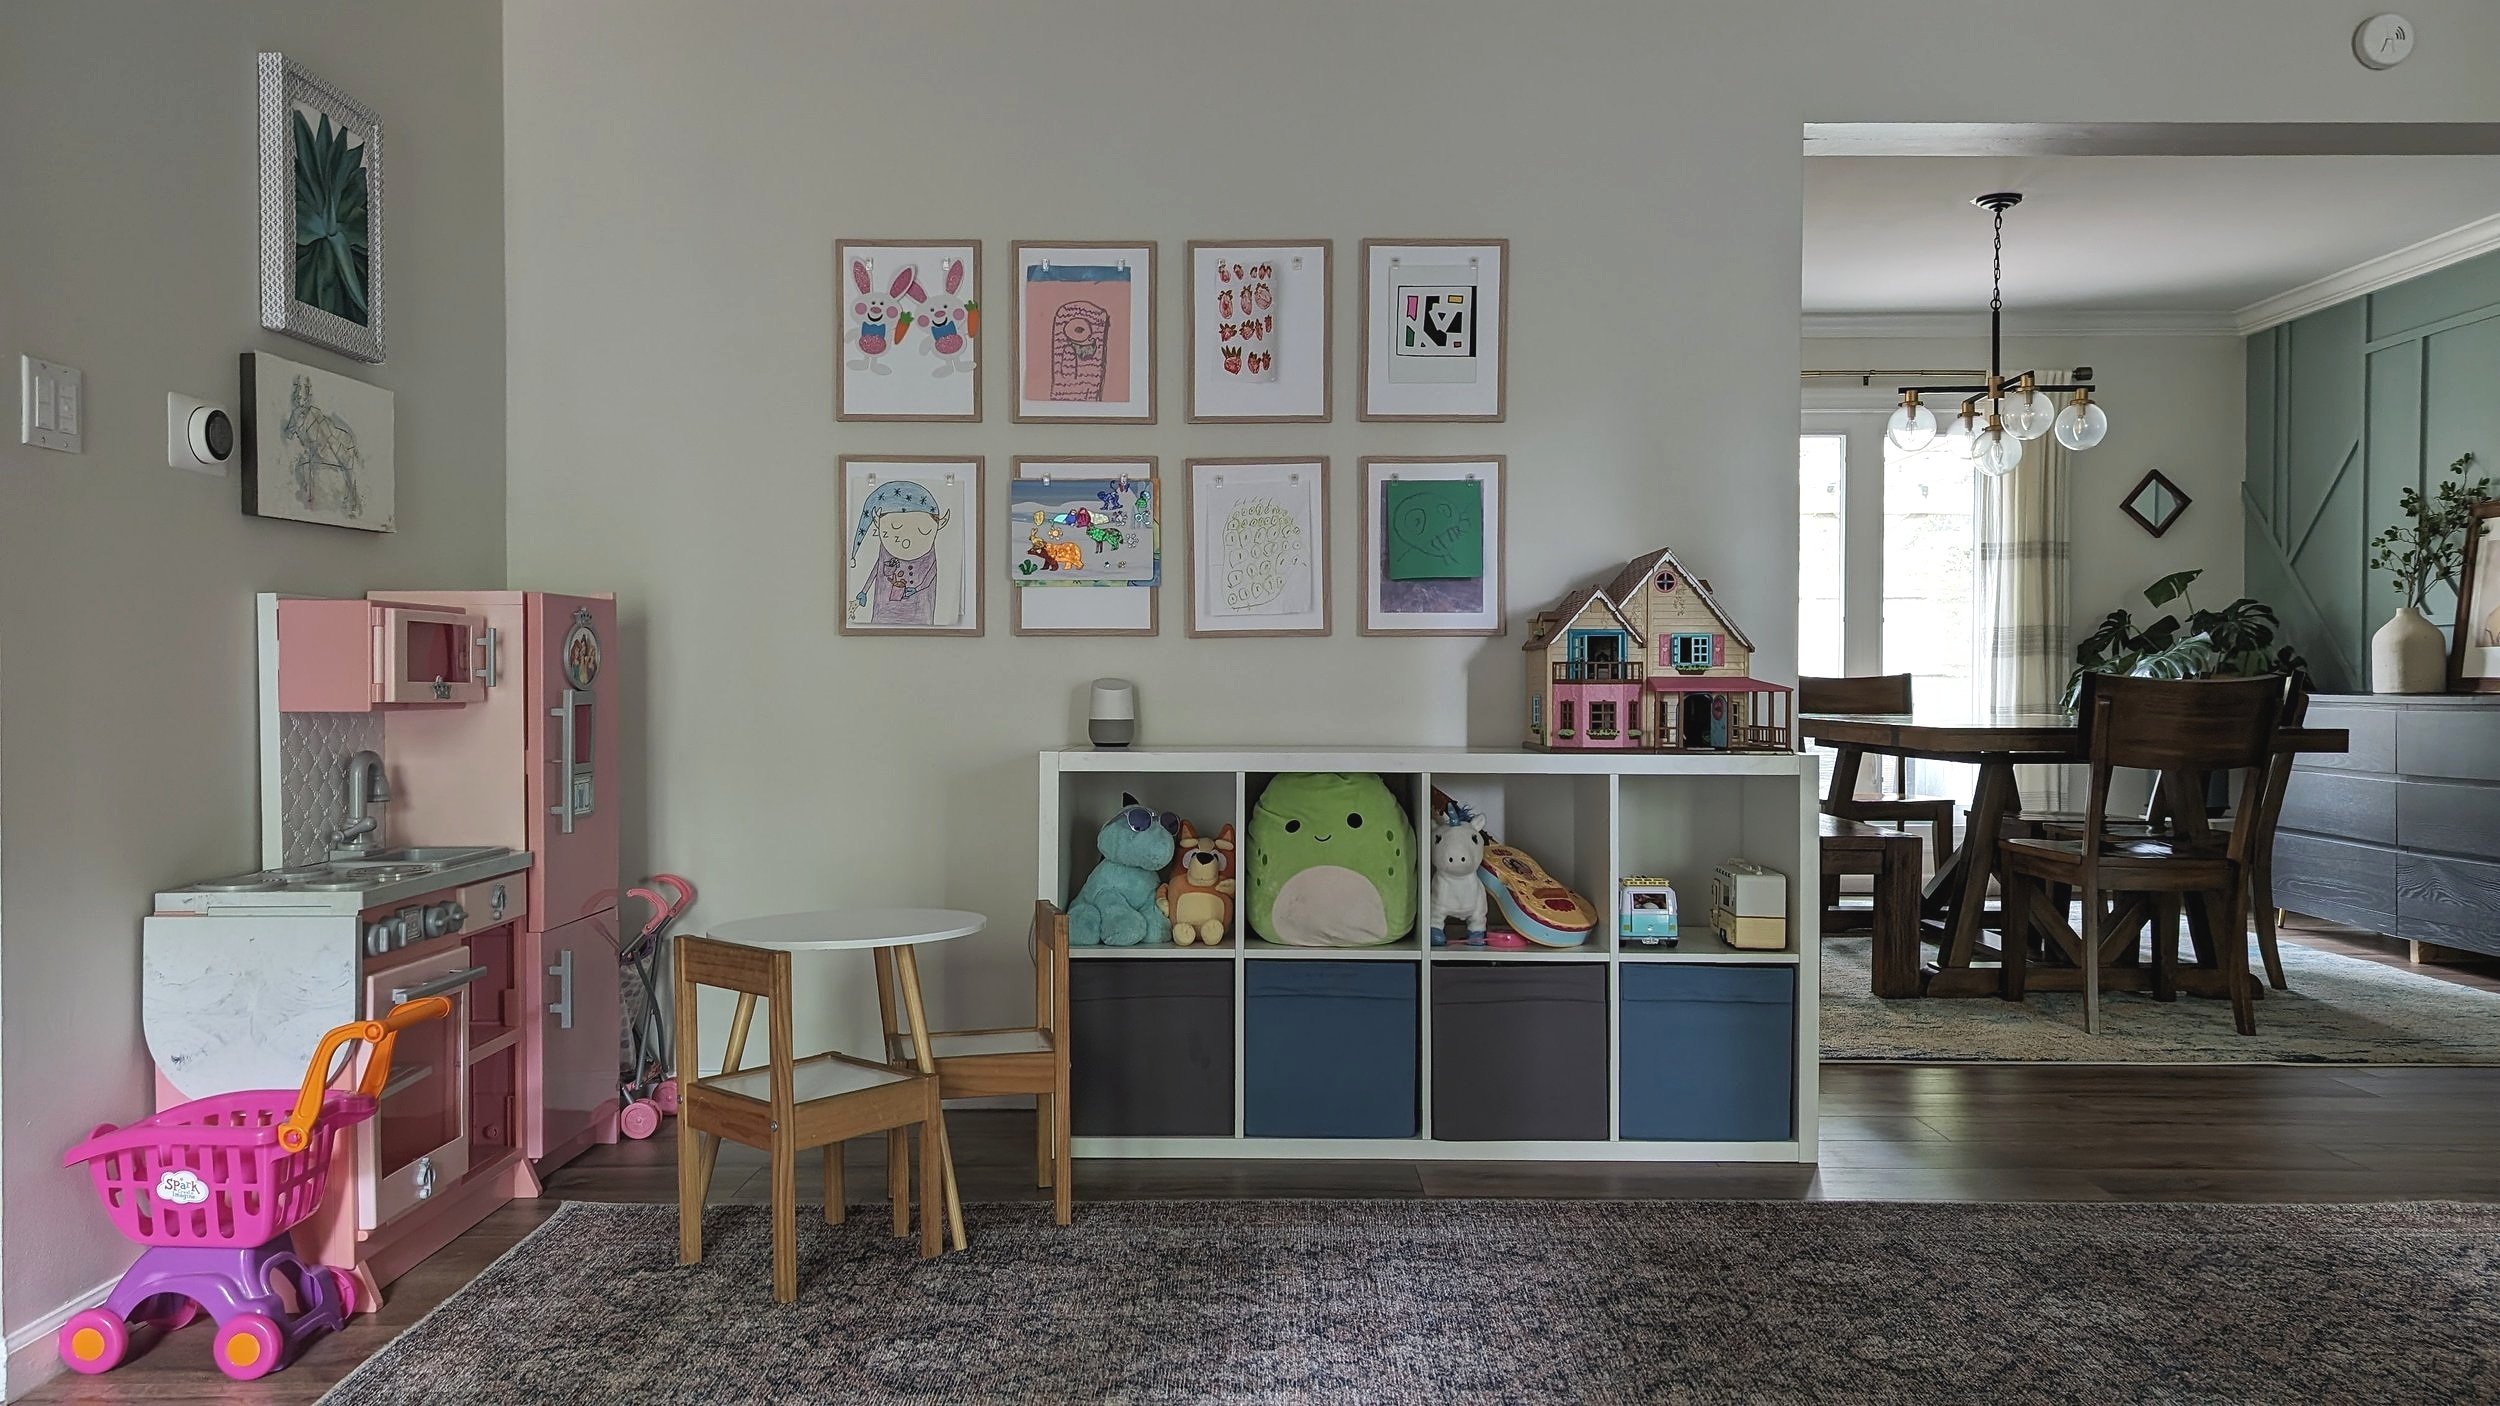
Hanging Spunky New Artwork

With the new neutral paint color, the room seemed like it needed a little more. I interpreted that to mean more artwork.
I began by wrapping the frames and mats of a couple of paintings I made in fabric to add more interest.

Then, I moved a painting I had been working on for quite some time (inspired by the painting linked below) into the room.
Finally, I created these frames with clips for my kids to switch out their artwork as they please. I never wrote a tutorial on how to make these, but I’ve linked a similar type below!
Rebuilding the Built-ins
This is where my little refresh turned into a full-on renovation.

While I initially went into this part of the project thinking I could simply modify the existing elements as a “phase 1” reno, Lucius quickly talked me into ripping it all out and starting from scratch. And I’m so happy I did!

We tore everything on this wall down to the studs, reframed, and ran electrical for the new picture lights. Then I drywalled, built fluted cabinets and shelves, and applied Roman clay to the fireplace. I learned a ton from this project and I’m so proud to say that I did so much of it myself. It’s even better that I was able to make it into exactly what I pictured it could always be.
New Rug & Beanbag
With the new overall look and feel of the room, I was ready to update the area rug to fit the style (and size) better. I went with this 10’ x 14’ Amber Lewis area rug. The larger size fits this room so much better and actually makes it look bigger.

Then Lucius ordered the absolute biggest beanbag he could find. It doesn’t necessarily fit my overall vision for the room, but it’s undeniably fitting for a playroom. The kids love playing on it, and it’s actually really comfortable.
More Lighting
The last piece of the puzzle was adding two recessed lights. This room initially only had two spotlights on the far side of the room near the fireplace. We quickly turned them into recessed lighting, however, half of the room was always a little dark.

As we updated the subfloor and flooring in the bedrooms directly above, we took the opportunity to add two more lights to the opposite end of the playroom.
It’s Never Really Over…

I have to admit, I was hesitant to write this post because a “reveal” feels so final… and there’s still a lot I’d like to do to this room. We’ve discussed turning the right-hand corner in the picture above into a reading nook like this example.
And adding a chair with a lamp in the left-hand corner of th picture above.
And creating a sitting area in front of the fireplace with a couple of chairs and a table.
However, for the stage of life we’re in right now - with two young kids who use this space to practice their gymnastics skills on the giant bean bag, have tea parties, and build castles with Magnatiles, among other things, and where I like to do my at-home work-outs - this set-up works just fine.

