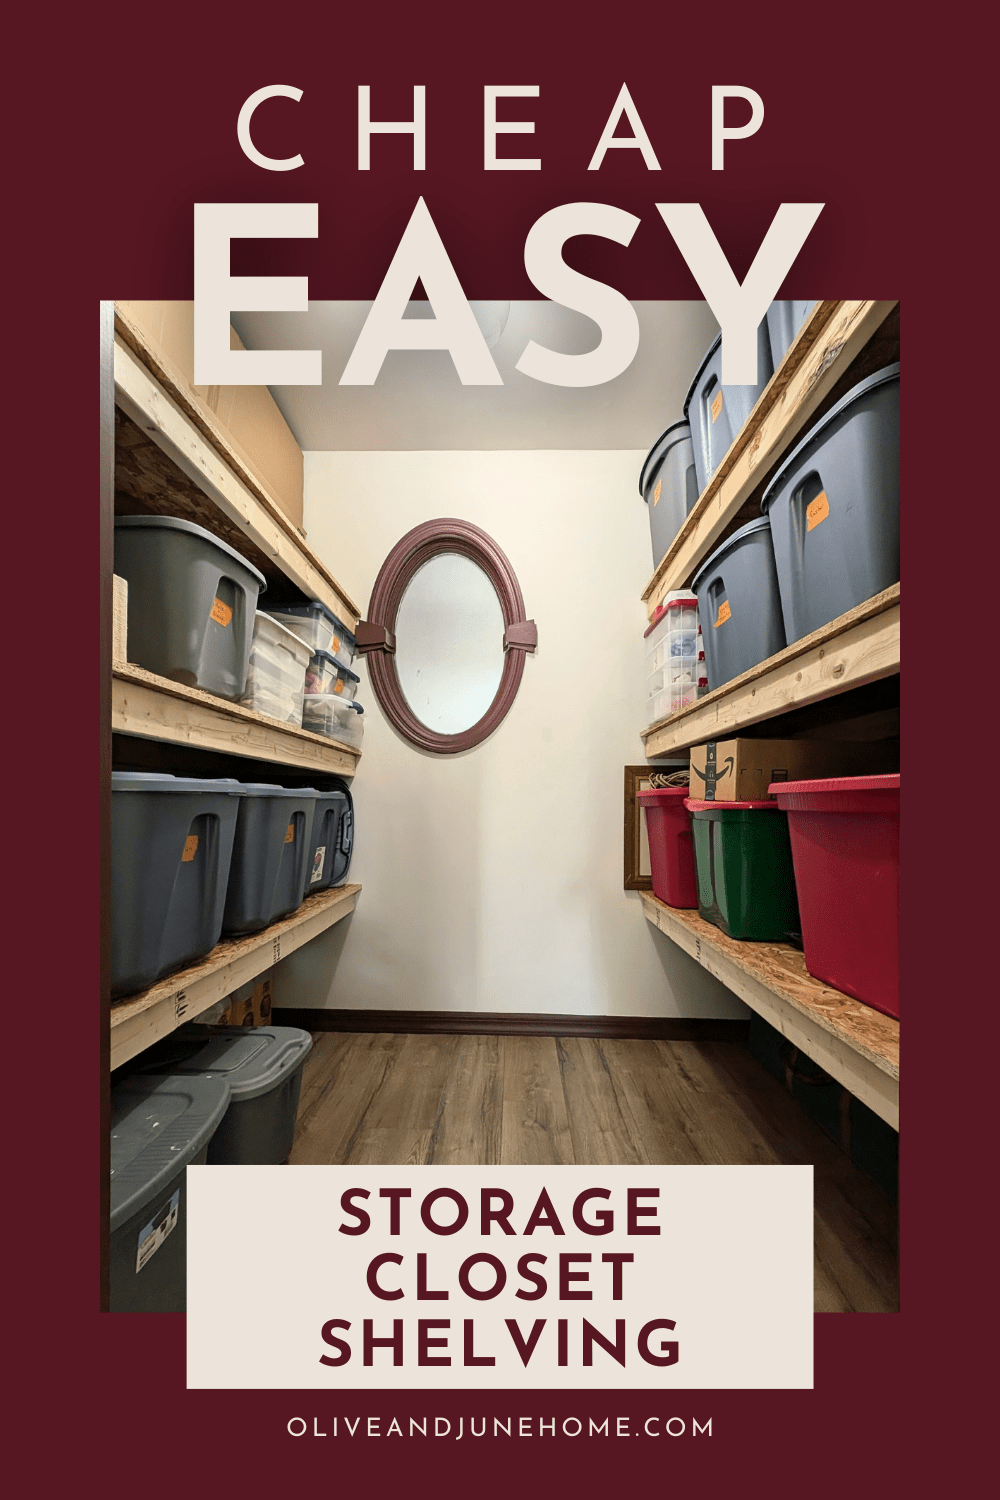
Storage Closet With DIY Floating Shelves
/Why We Turned Our Laundry Room Into A Storage Closet
Who in their right mind would give up their laundry room for a storage closet!? In this post, I’m covering our latest renovation: turning our old laundry room into a functional (and much-needed) storage closet with DIY shelving - and why we did it.

Although our house lacks an attic, a basement, or really much storage space at all, you didn’t actually think I gave up our laundry room for a storage closet - did you!? If you’ve been here for a while, you know I relocated our laundry room upstairs a couple years ago - which has been AMAZING.

However, that left this space as a sad, haphazard, poorly utilized storage closet of doom. It’s a fairly large space (about 5x7 feet), so the underutilization of this space was really nagging me.

So I took matters into my own hands and decided that this was the year I would remedy that problem! As for the official “before,” just imagine the washer and dryer side-by-side where all those totes are stacked up, mkay?
Turning this room into the storage closet of my dreams (shoot for the stars, and all that) took more than simply removing the cabinets you see above…
As an Amazon Associate, and partner with other brands, I earn from qualifying purchases. This post may contain affiliate links, meaning I receive commissions for purchases made through those links at no cost to you.
Laundry Room Demo & Storage Closet Prep


These are in-progress photos, but when it was all said and done I actually ended up removing all the drywall except the ceiling. I also took off the trim around the window and removed the bulkhead.
My husband (Lucius) then rerouted the waterline running along the floor in the picture above so it runs through the walls… but not before it caused a leak and did a little bit of damage to the half bathroom on the other side of the wall. (That’s future Erika’s problem.)
Once the leak was under control and everything dried, I hung and finished the drywall. I tried wet-sanding for the first time and OMG the lack of dusty drywall mess was incredible! (Highly recommend!)


I then primed and painted the walls and ceiling Egret White by Sherwin Williams. I used this color because I already had it left over from another project, and I’m so happy with it. It’s a lovely creamy white and a perfect neutral backdrop for a fun element I wanted to add in here.
After that, Lucius installed the flooring we laid throughout the rest of the house last winter and then it was time to build the shelves!
DIY Storage Closet Shelves
For this project, we used 2x4s as the frame of our shelves and OSB for the shelves. The designer in me would have preferred prettier shelves made of plywood and a nice finished piece of wood for the face (like these). But Lucius’s practical mind talked me out of it since this is literally a storage closet. Can’t win ‘em all!
Materials
- 2x4s
- 3/4” MDF, Plywood, or OSB
- 3” wood screws
- Drill
- Level
- Stud finder (this is my favorite)
- Miter saw
- Circular or Table saw
- Tape measure
- Framing nailer (optional)
I started by marking the studs with my Stud Buddy. Then I cut the 2x4s to length on my miter saw for the fronts and sides of my frames.
Using 3” wood screws (and a level), I attached the back and sides of the frames to the wall by drilling into the studs.


I used a framing nailer to attach the front piece of the frame, but screws would work as well.
I cut the OSB down to size using my circular saw and slid them onto the frames. I then put a couple of screws through the shelves into the frame and voila!

I wasted absolutely no time organizing and filling this closet up… and there’s still room for more! My little type-A heart could hardly handle it. I mean, LOOK AT ALL THAT STORAGE!
I was stoked at this point, but there were still a couple of things I needed to do to finish this space off: trim and lighting.
Zhuzhing Up The Storage Closet
I started by reinstalling the original window trim and hanging new door trim and baseboards. Then I painted the trim and the door Dark Auburn by Sherwin Williams using my favorite paintbrush.


I’ve always wanted to try contrast trim and this felt like the perfect opportunity. It needed to be painted anyway, so why not have some fun with it!? Plus, the color may or may not be a gigantic hint at my plans for the mudroom.
As for lighting, I went with a super simple and inexpensive light fixture that I’ve actually used in several places in our house already (i.e. the laundry room, closets, the hallway).
Storage Closet Reveal
And here’s the finished product!

Here’s a quick little before and after side-by-side (because those are always so much fun!)

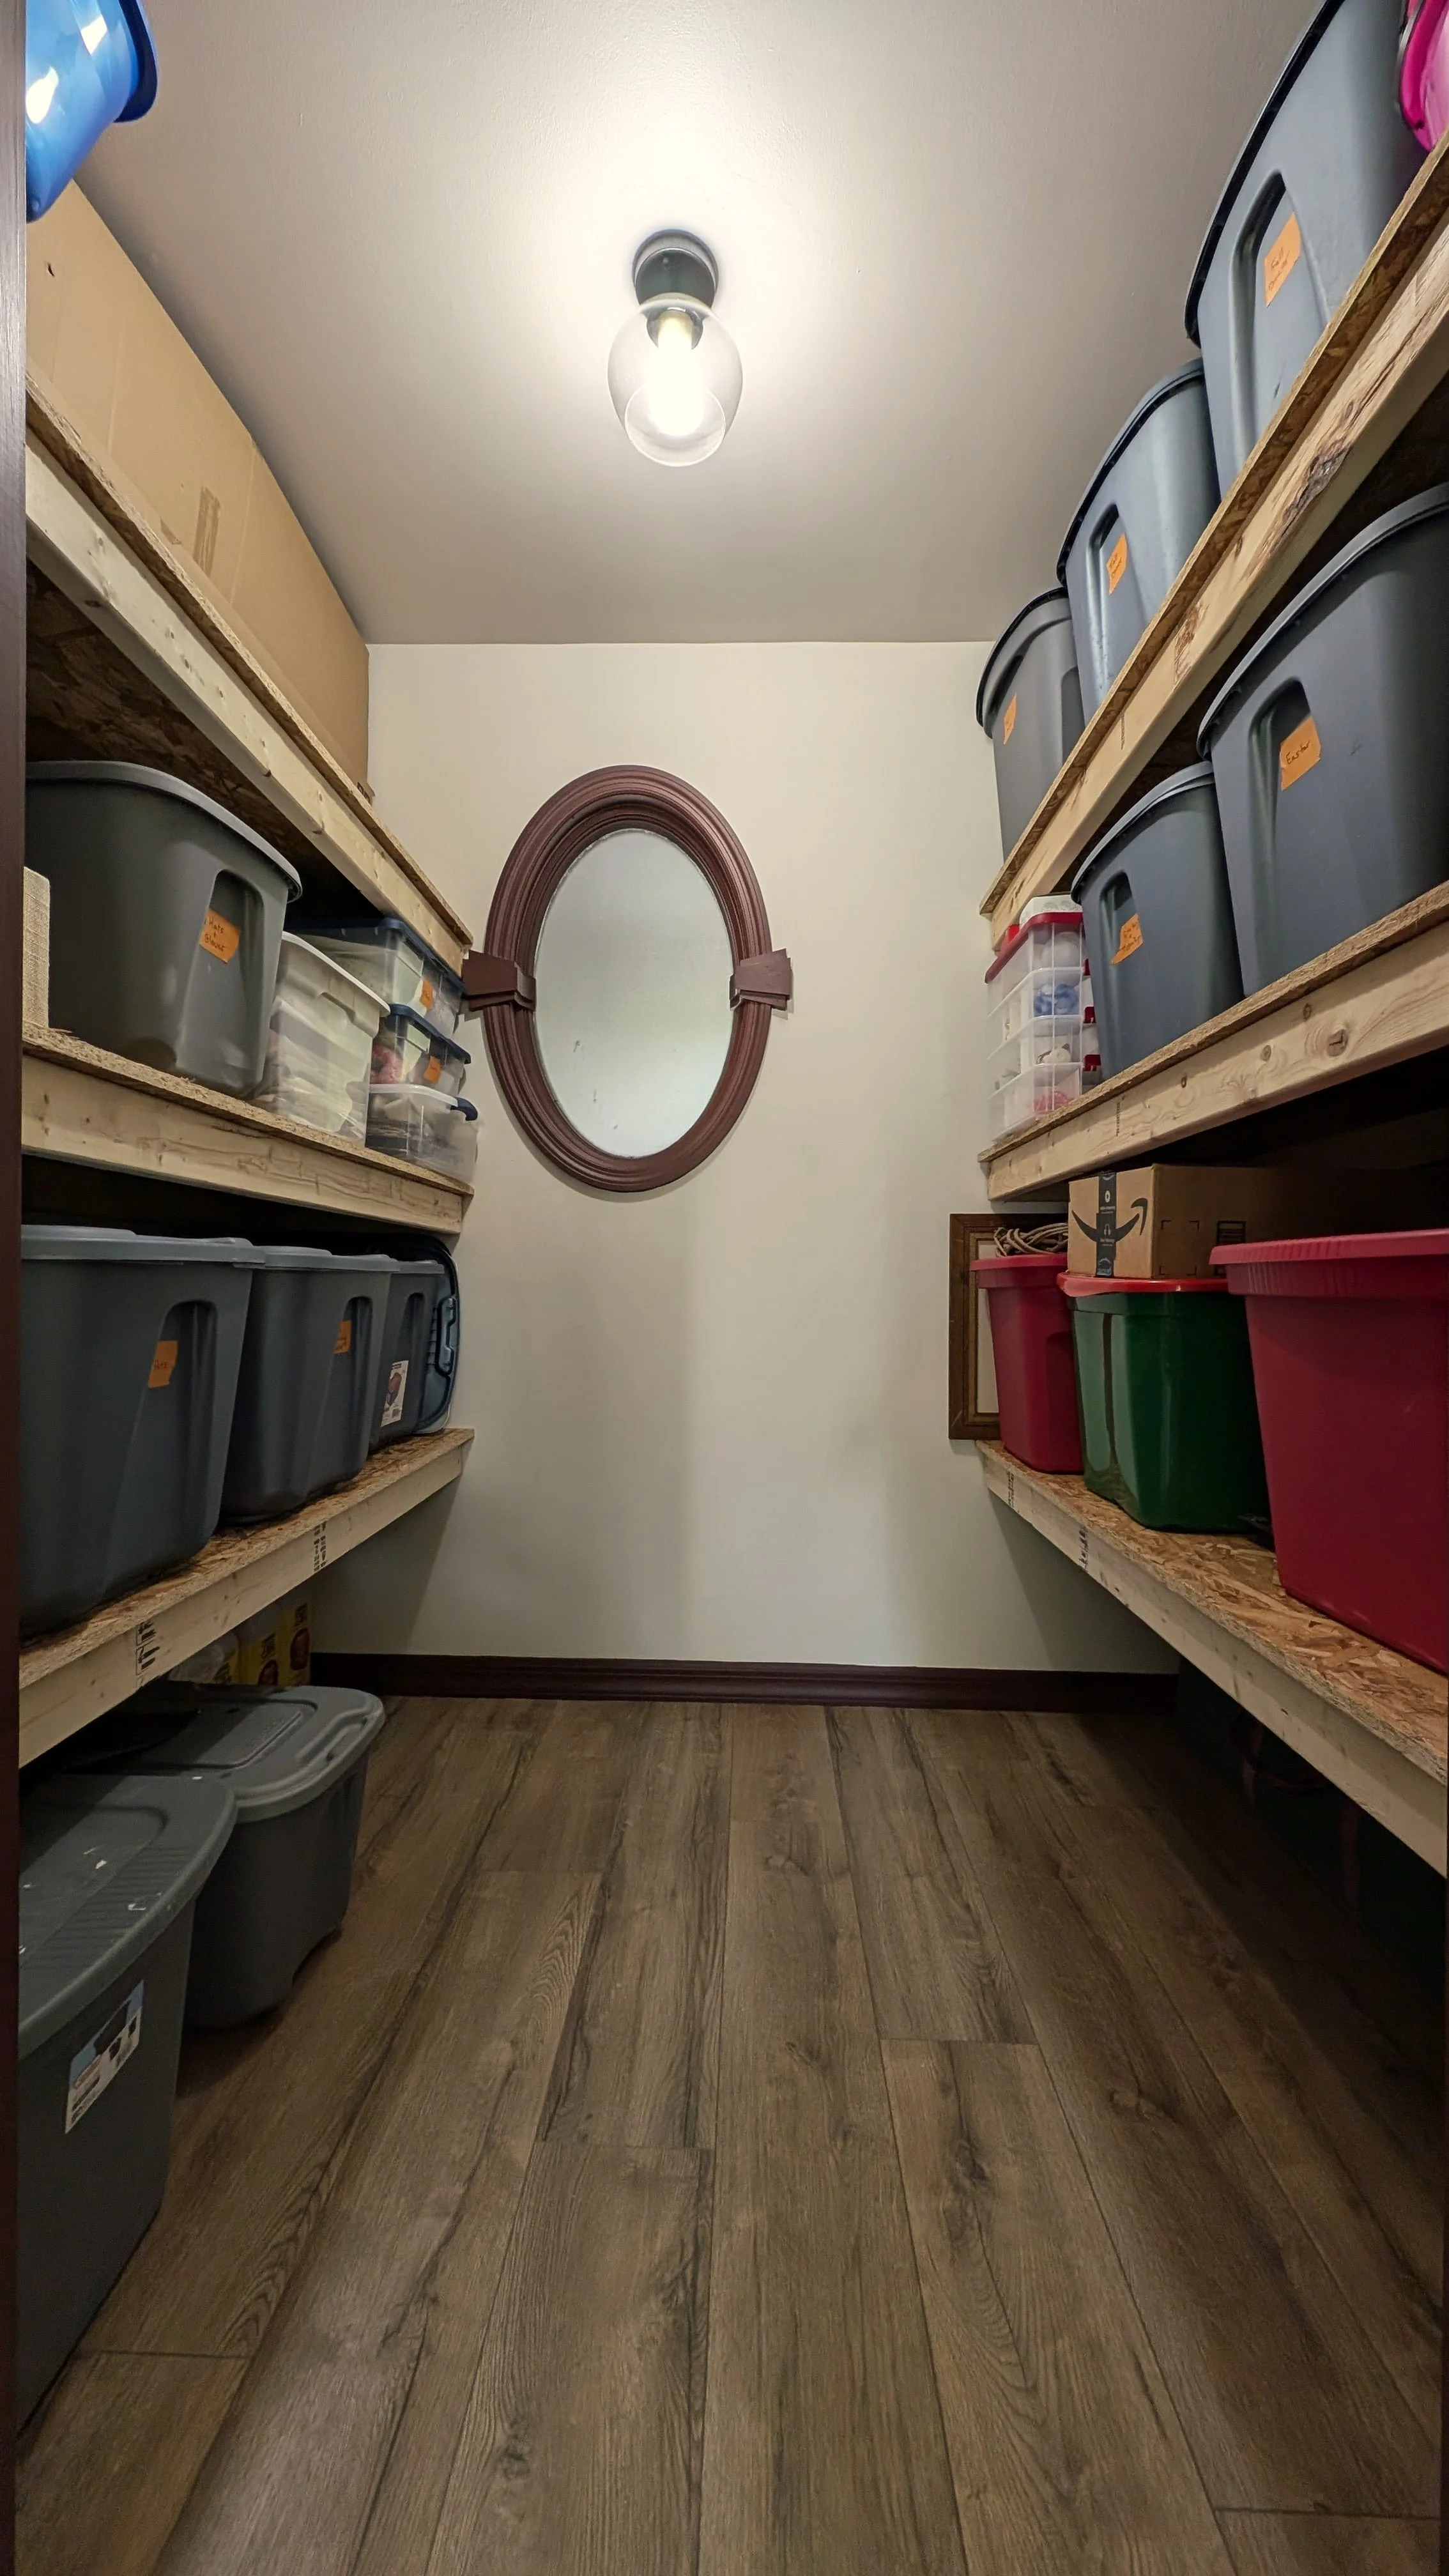
Before this renovation, this room always felt messy. Regardless of how much I tried to organize it, I knew it could be utilized so much better. I’m over the moon with the functionality of this room now. I was even able to clear everything out of our coat closet and store it here instead!
As for the shelves… there’s a chance I’ll paint them down the line to make them a little nicer, but for now, I’m happy soaking in all that sweet sweet storage.