Surprise! I've Been Renovating the Playroom!
/Built-in Bookshelf DIY
With the powder room renovation complete, you may be wondering what project is next on my list. And the answer isn’t necessarily what’s next. It’s what’s already been happening…
Last spring, while I was in the midst of helping out with the office renovation and cleaning out Charlie Foursquare, I decided it was the perfect time to also start work on our playroom! Admittedly, it wasn’t actually the ideal time to jump into another project. But, it was also a low-risk project that I could easily work on in the background at my own pace.
While I shared real-time updates on Instagram stories and the occasional update via Instagram reels, I never had the opportunity to write a blog post about it. So, for my blog audience… this post is for you. And we have a lot of catching up to do!
Where It Started
This was the playroom when we moved in. I think it’s actually intended to be a formal sitting room, but with young kids, using it as a playroom makes more sense.
Aside from swapping out the rug and some toys, we didn’t make any changes for the first 3.5 years we lived here. However, from the first time we stepped foot in our house, we knew we didn’t want to keep the built-ins as-is. For our taste, the mirrored backs, glass shelves, and swirly trim were way too ornate.
Inspiration for the Built-Ins
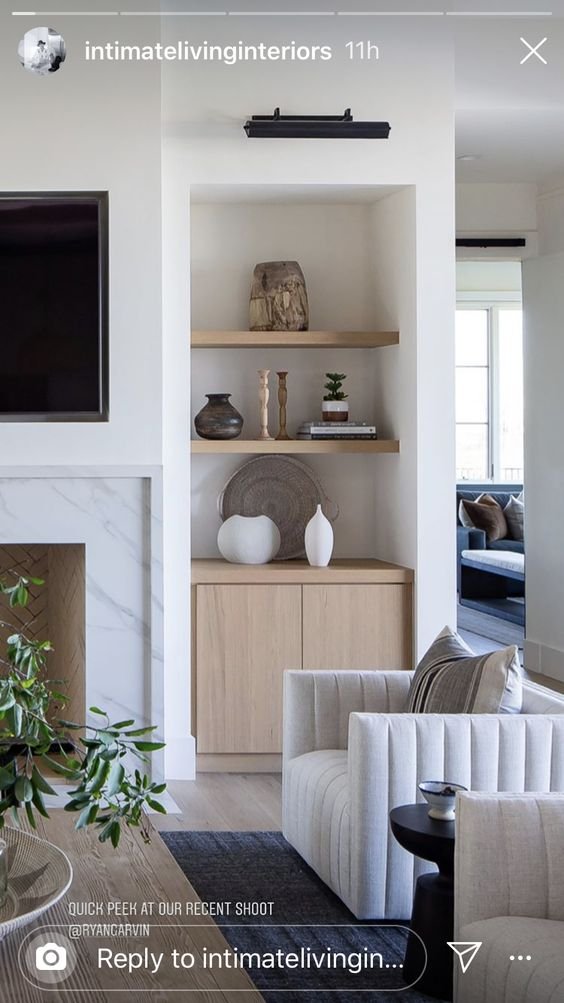
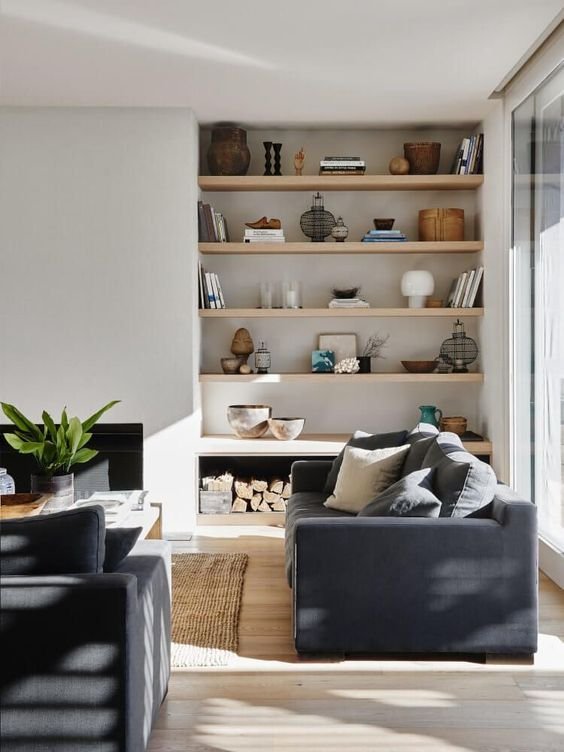
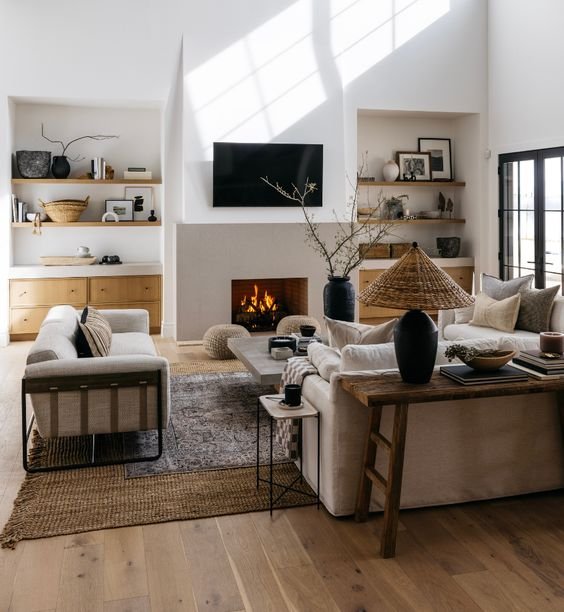
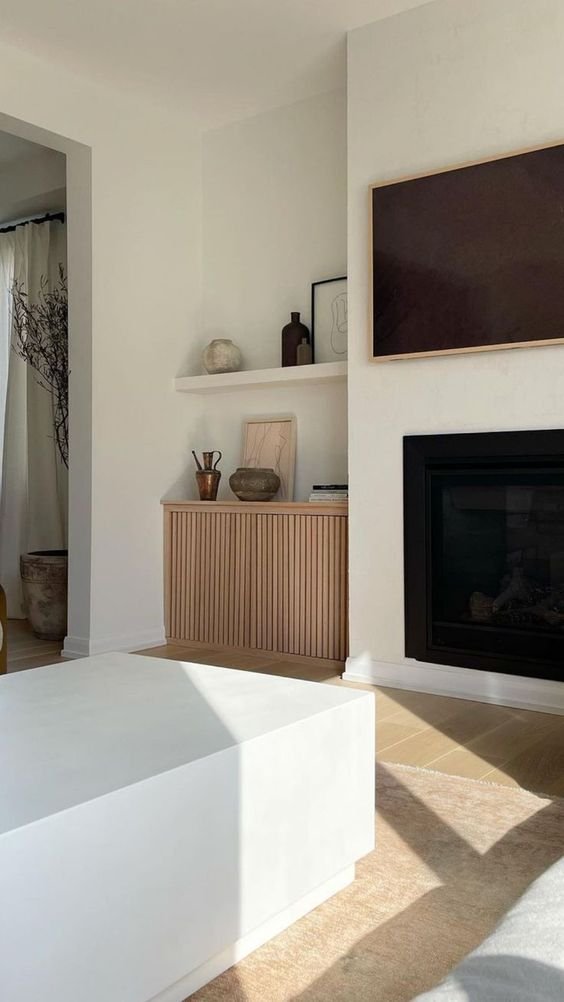
It didn’t take me long to start saving inspiration for the makeover of the focal point and main eyesore of this room: the built-ins. I quickly noticed a few similarities between my inspo pictures.
Okay… a LOT of similarities.
Although we’re currently using this space as a playroom, I didn’t want it to lean too childish for two reasons: 1) Eventually, our kids will grow up and probably start locking themselves in their rooms as they become moody teenagers. And 2) this room is open to the rest of the first floor, and I didn’t want it to stand out like a sore thumb.
Design Plans for the Built-ins
Once my design direction was clear, I picked the pieces that resonated most with me and sketched them to fit my space.
I was really drawn to the modern aspects of the inspiration pictures - like the squared-off edges on the built-ins and fireplace, as well as the slab doors of the cabinetry.
Because this is such an open room, I really loved the idea of painting it off-white so it can flow from one room to the next. I also like how the shadows in the architecture of the built-ins can play when everything is a lighter color.
You’ll notice all my inspiration pictures also have wood shelves and/or cabinetry. I loved the look but didn’t think I could make that happen since I planned to build my cabinets, and I was concerned with my woodworking skills. In the image below, I mocked up the room with taupe cabinetry instead.
Scratching that Renovation Itch
Last spring, I just couldn’t take this “pocket of ugly” (how I like to refer to the unfinished spaces in our home) anymore. I tried doing a phase 1 update by painting the walls and modifying the built-ins, but that quickly spiraled into tearing them out completely.
I love learning, honing my skills, and looking for new ways to push myself, so I took on as much of this project myself as I could - including drywalling everything. It’s not perfect by any means, but I learned a ton, and it actually turned out pretty good.
Once the drywall was complete, I started building the cabinets. I must have gained some confidence along the way because I decided to keep them wood rather than paint them. I even created hinge pin holes so I can adjust the shelves!
Then, it was on to building the countertops out of a couple of pieces of thick red oak and building the doors out of red oak plywood.
In one of the inspiration pictures, the cabinet doors are fluted. I absolutely fell in love with them. So, I figured out a way to cost-effectively recreate that look (find the tutorial here!). Lastly, I built floating shelves for each side.
And here we are!
Final Thoughts
I love the decorations in this room right now (check out how I made the garland here!), so I’m waiting until after Christmas to resume this project, but I’m so excited!
For the built-ins alone I still need to fill all the nail holes, stain, and seal them. As for the rest of the room… I have plans. But you’ll have to stay tuned to see what else I have up my sleeve!
Make sure to follow along on Instagram to catch all my real-time project updates!


