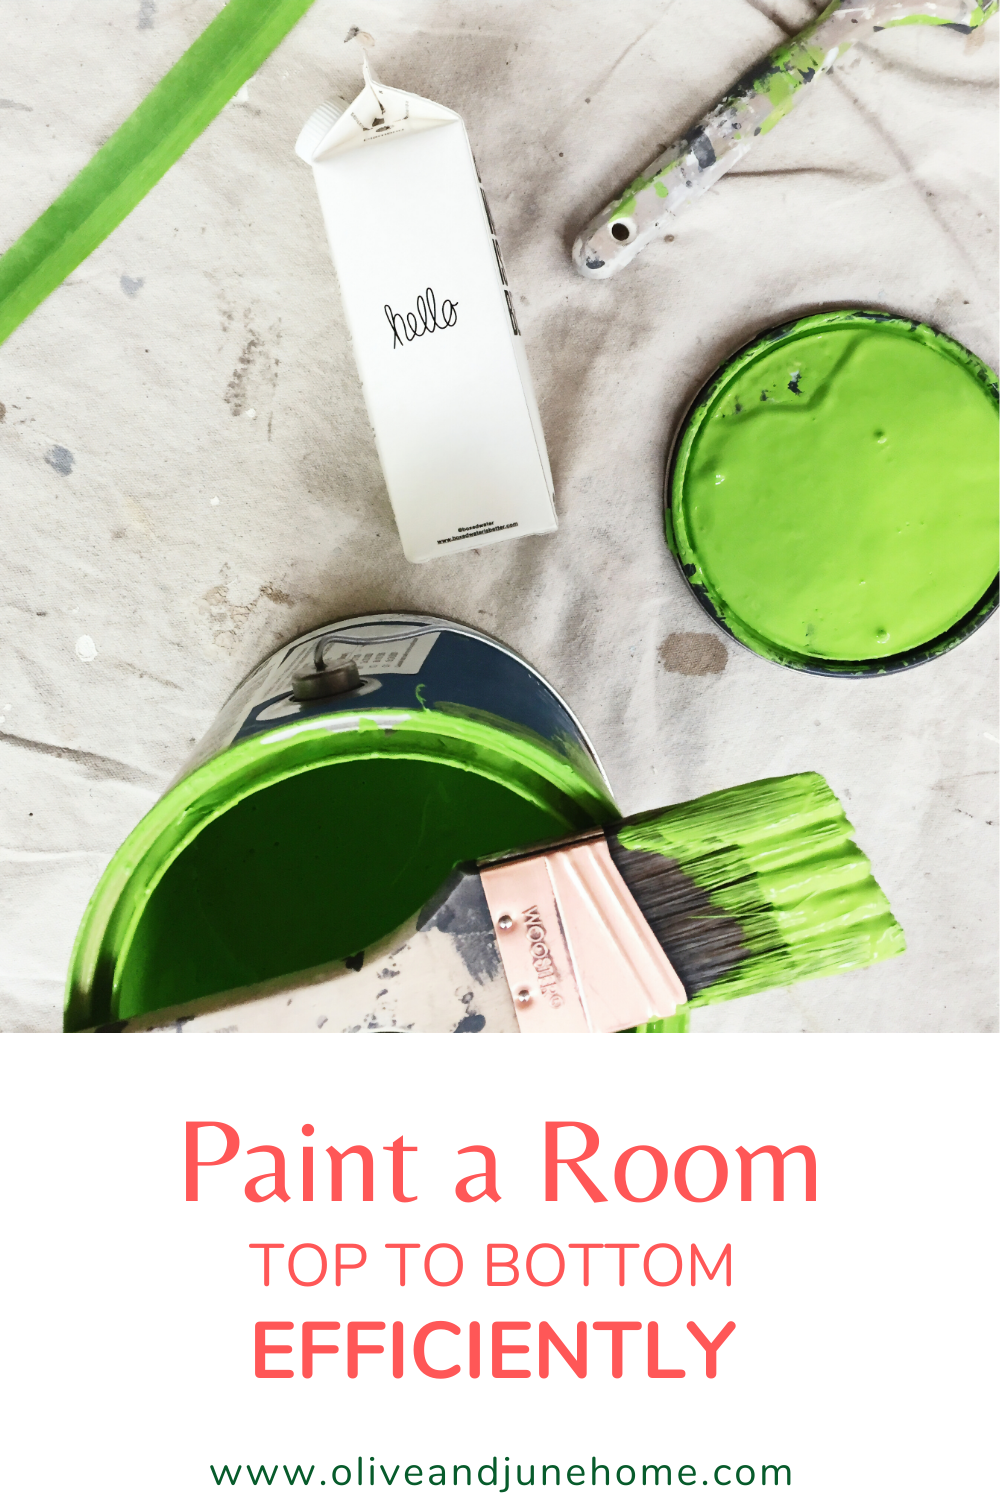
How to: Paint a Room Top to Bottom Efficiently
/The Best Way to Paint a Room
Remember back in math class when they taught you the order of operations - PEDMAS (or, Please Excuse My Dear Aunt Sally, as I like to remember it)? I've never been good at math, but I do know that the order of operations is an integral part of it. Well, I believe there’s an order of operations to painting a room that makes it easier and faster to complete. And I’m here to break it down for you!
Not all of these steps apply to every room, but you can skip any unnecessary steps for your specific project and just hop on over to the next applicable one.
And just for fun, here’s the acronym for the steps and some weird phrases to help you remember it (because I clearly have too much time on my hands): Prep work, Prime, Caulk, Trim, Ceiling, Walls - PPCTCW
Pretty People Call Tom Cruise Weekly
Punk Princesses Create Tortured Comic Worlds
Philosophical Penguins Cry To Callous Wombats
Okay, I’ll get to the post now… (but feel free to send me any phrases you come up with because they make me laugh).
As an Amazon Associate, I earn from qualifying purchases. This post may contain affiliate links, meaning I receive commissions for purchases made through those links, at no cost to you.
Prep work
First thing’s first - to get a great-looking finished product, you have to put in the time and effort of creating a solid foundation. That means prepping your walls (and ceiling if you’re painting that too) by patching any holes. Once your holes are patched, make sure to sand them smooth. If you’re patching a large hole and it isn’t smooth on the first go-round, slap another layer of spackle on it and sand again once it’s dry.
I get it, it’s frustrating not to be able to just jump into painting your room, but that uneven spot will drive you nuts if you don’t fix it now.

Once everything is sanded, vacuum/wipe down surfaces to remove any dust build-up, especially on the tops of door frames, window frames and sills, and your trim. And don’t forget to remove any outlet or light switch covers!
Prime
This is where you get to have a little bit of fun if you’re repainting the whole room because you can go nuts and you don’t have to be careful at all.
In my office, for example, I knew I was getting rid of the red trim and blue walls. So I slapped a coat of primer on everything. And because I had to patch a few areas on the ceiling anyway and I was therefore going to have to repaint that too, other than making sure I wasn’t getting any paint on the floor, there was no need to carefully edge around anything. It was kind of liberating, in a way.


If you’re not painting everything in a room, you’ll obviously need to be more careful in how you apply your primer. Or, you may not even need primer at all if you aren’t drastically changing the paint color. In my office, I plan on using white paint on the walls and trim, so primer was a must to cover up the bold colors it was painted when we moved in.
On the flip side, if you are drastically changing the color in a room but you’re going from a light to a dark paint or from a bold to a more muted paint (like we did in our loft) save yourself some time and money by having your primer tinted.


Bonus: primer is a great way to highlight any nail holes you may have missed initially. If you find any stragglers, just spackle over them, sand, and call it a day!
Caulk
To create a nice, seamless look, caulk any gaps between your trim and your walls. I like this kind.
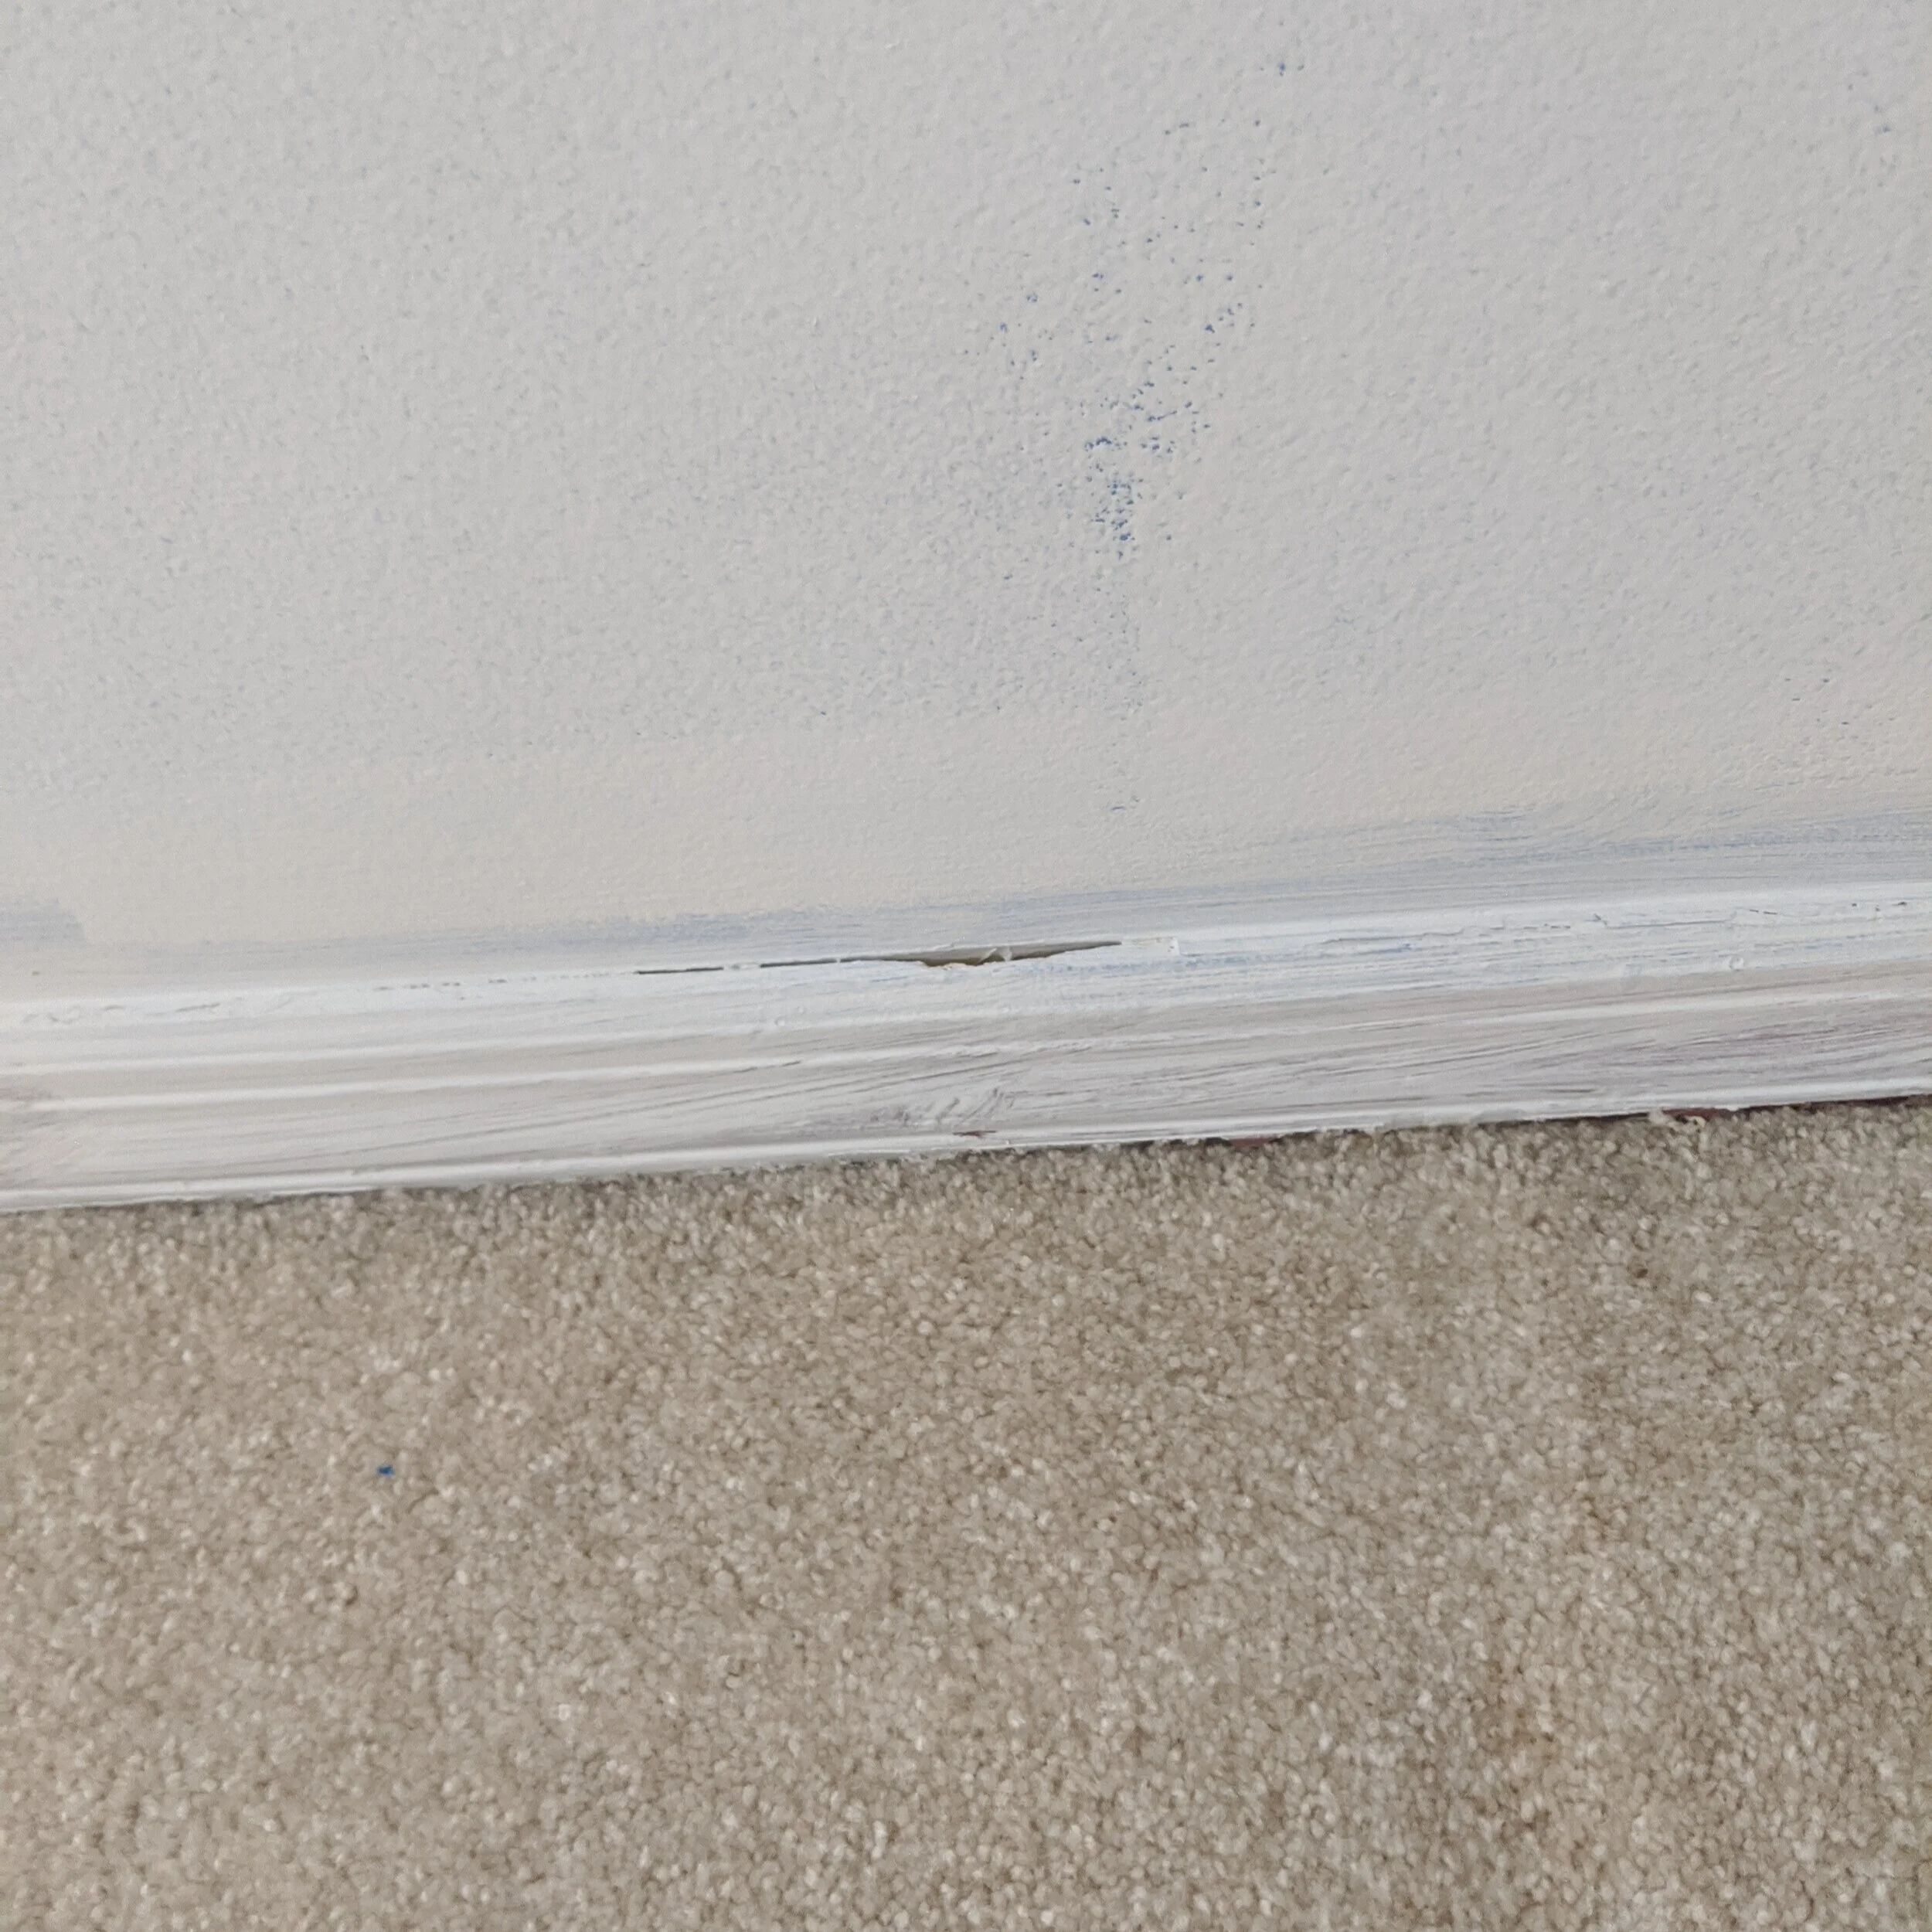
I’m coming for you, gap.
Caulking is simple. Just cut the tip at an angle, run a bead along where the wall and trim meet and smooth it with your finger. I like to keep an old rag handy to wipe off my hands, and it’s helpful if you wet the tip of your finger before you smooth it out.
Trim
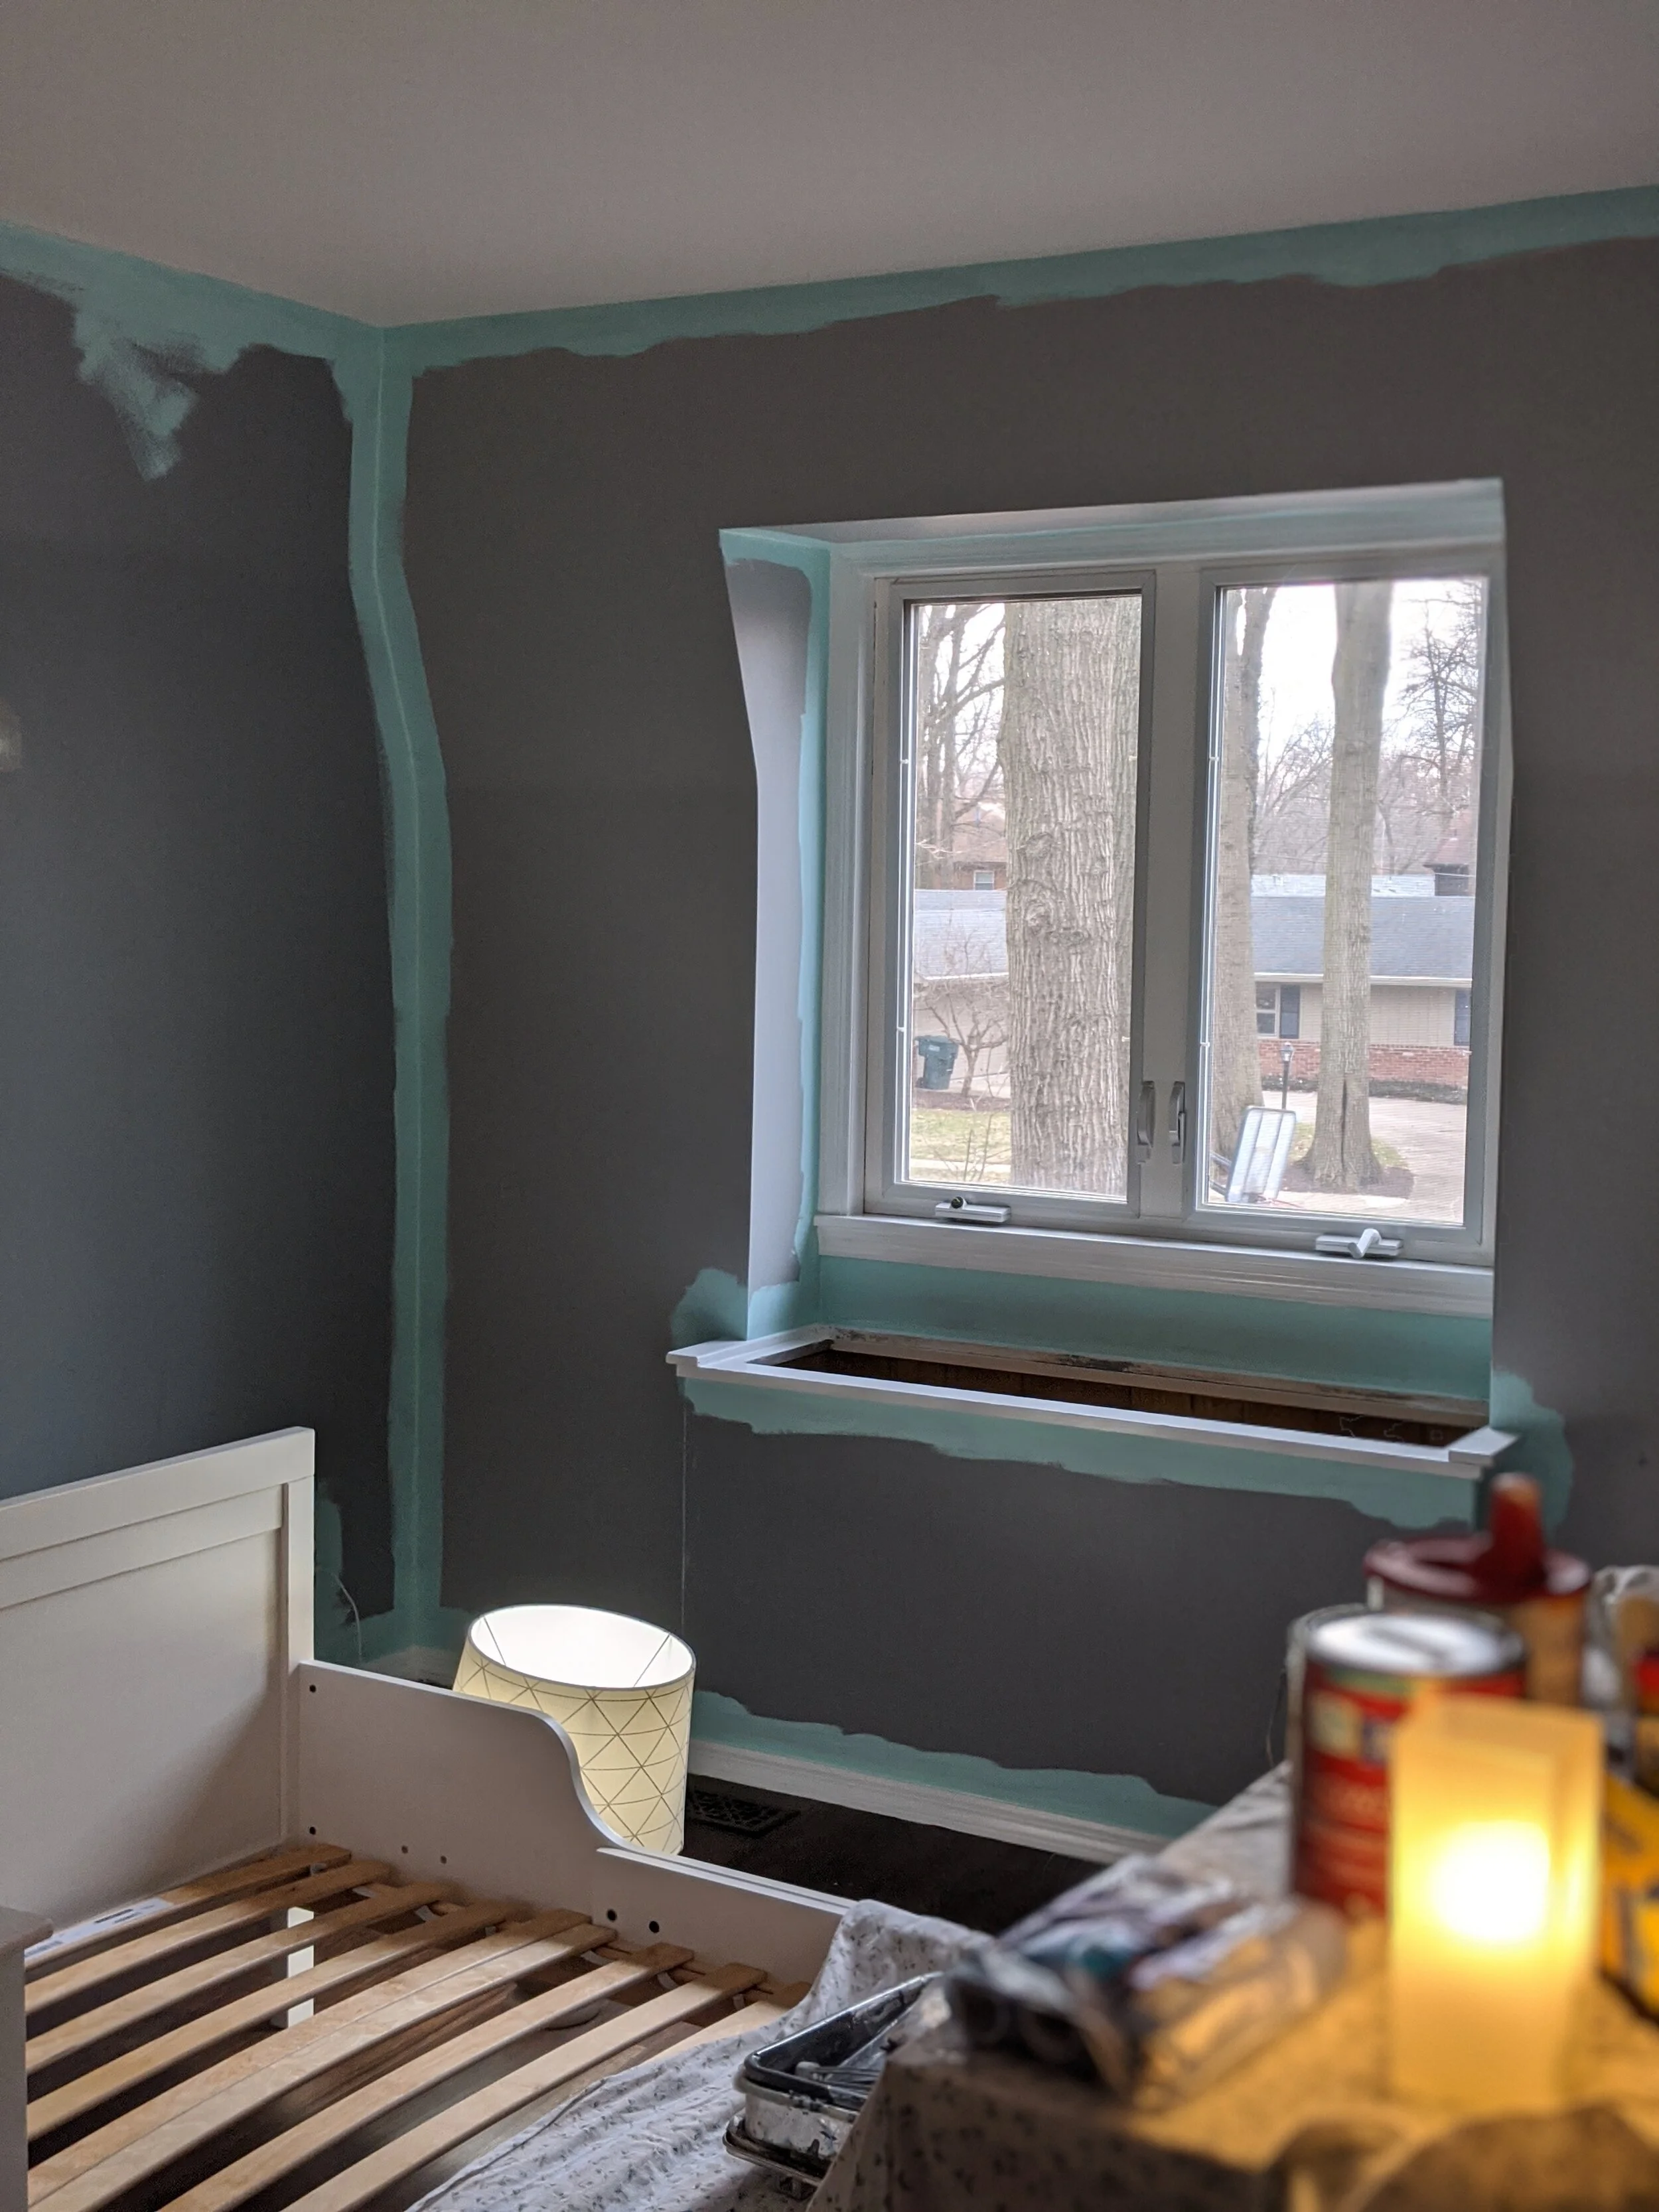
As with primer, if you’re painting the whole room, you really don’t have to be careful to cleanly cut in your edges. If you’re painting your walls, paint the trim first and go to town.
I love to paint, but painting trim is one of my least favorite things. What makes it even worse is that the trim in our current house is small and thin and it’s really hard to not get any on the walls. At least when I use this order of operations it makes the chore of painting trim a little easier. Since I’ll be painting the walls once the trim is complete anyway, when I paint the trim I don’t worry about using tape to keep any paint from getting on the walls.
Here’s a picture of our daughter’s room in progress. The wall color wasn’t changing drastically so I didn’t worry about primer. Because I knew I was going to paint the walls later, I painted the trim first and didn’t worry about “staying in the lines” while doing it!

You do, however, want to make sure you’re not going so crazy that you paint your floor. You can put some painter’s tape on the floor to protect your surface, or even use a large putty knife to block your brush from touching the floor as you paint your trim.
Ceiling
Unless you have crown molding (that would have already been painted in the last step), or you’re only painting the ceiling (and not touching the walls), you don’t need to worry about carefully cutting in your edges in this step either!
Walls
FINALLY, the moment you’ve been waiting for that will make all the difference in your room and straight up blow your socks off: you can now paint your walls! At this point, you’ll definitely want to be careful when cutting in because you just spent all that time painting your ceiling and trim.
I like to start by cutting in my edges, but some people prefer to roll their paint first and that’s totally okay! I prefer to use a short 2” angled brush. Definitely feel free to use painter’s tape if you don’t have a steady hand.
Then use a roller to roll the rest of the paint on your walls.
I don’t care what the paint companies say: I will never believe that “one-coat coverage” is a thing. Yes, the paint may cover well with one coat, but I guarantee there will be areas where you may have left the paint a little thin or didn’t quite get into the texture of the wall enough. Do your walls a solid and just paint two darn coats.
Sit back and enjoy
Now that you just put a ton of work into your room, ENJOY IT! You earned it!