Build Your Own Trellis
/Easy Trellis Tutorial
Have a fence that’s just kind of “blah”? Liven things up with a trellis and some climbing vines! In this post, you’ll learn how to build your own wire trellis and create a beautiful backdrop for your yard.
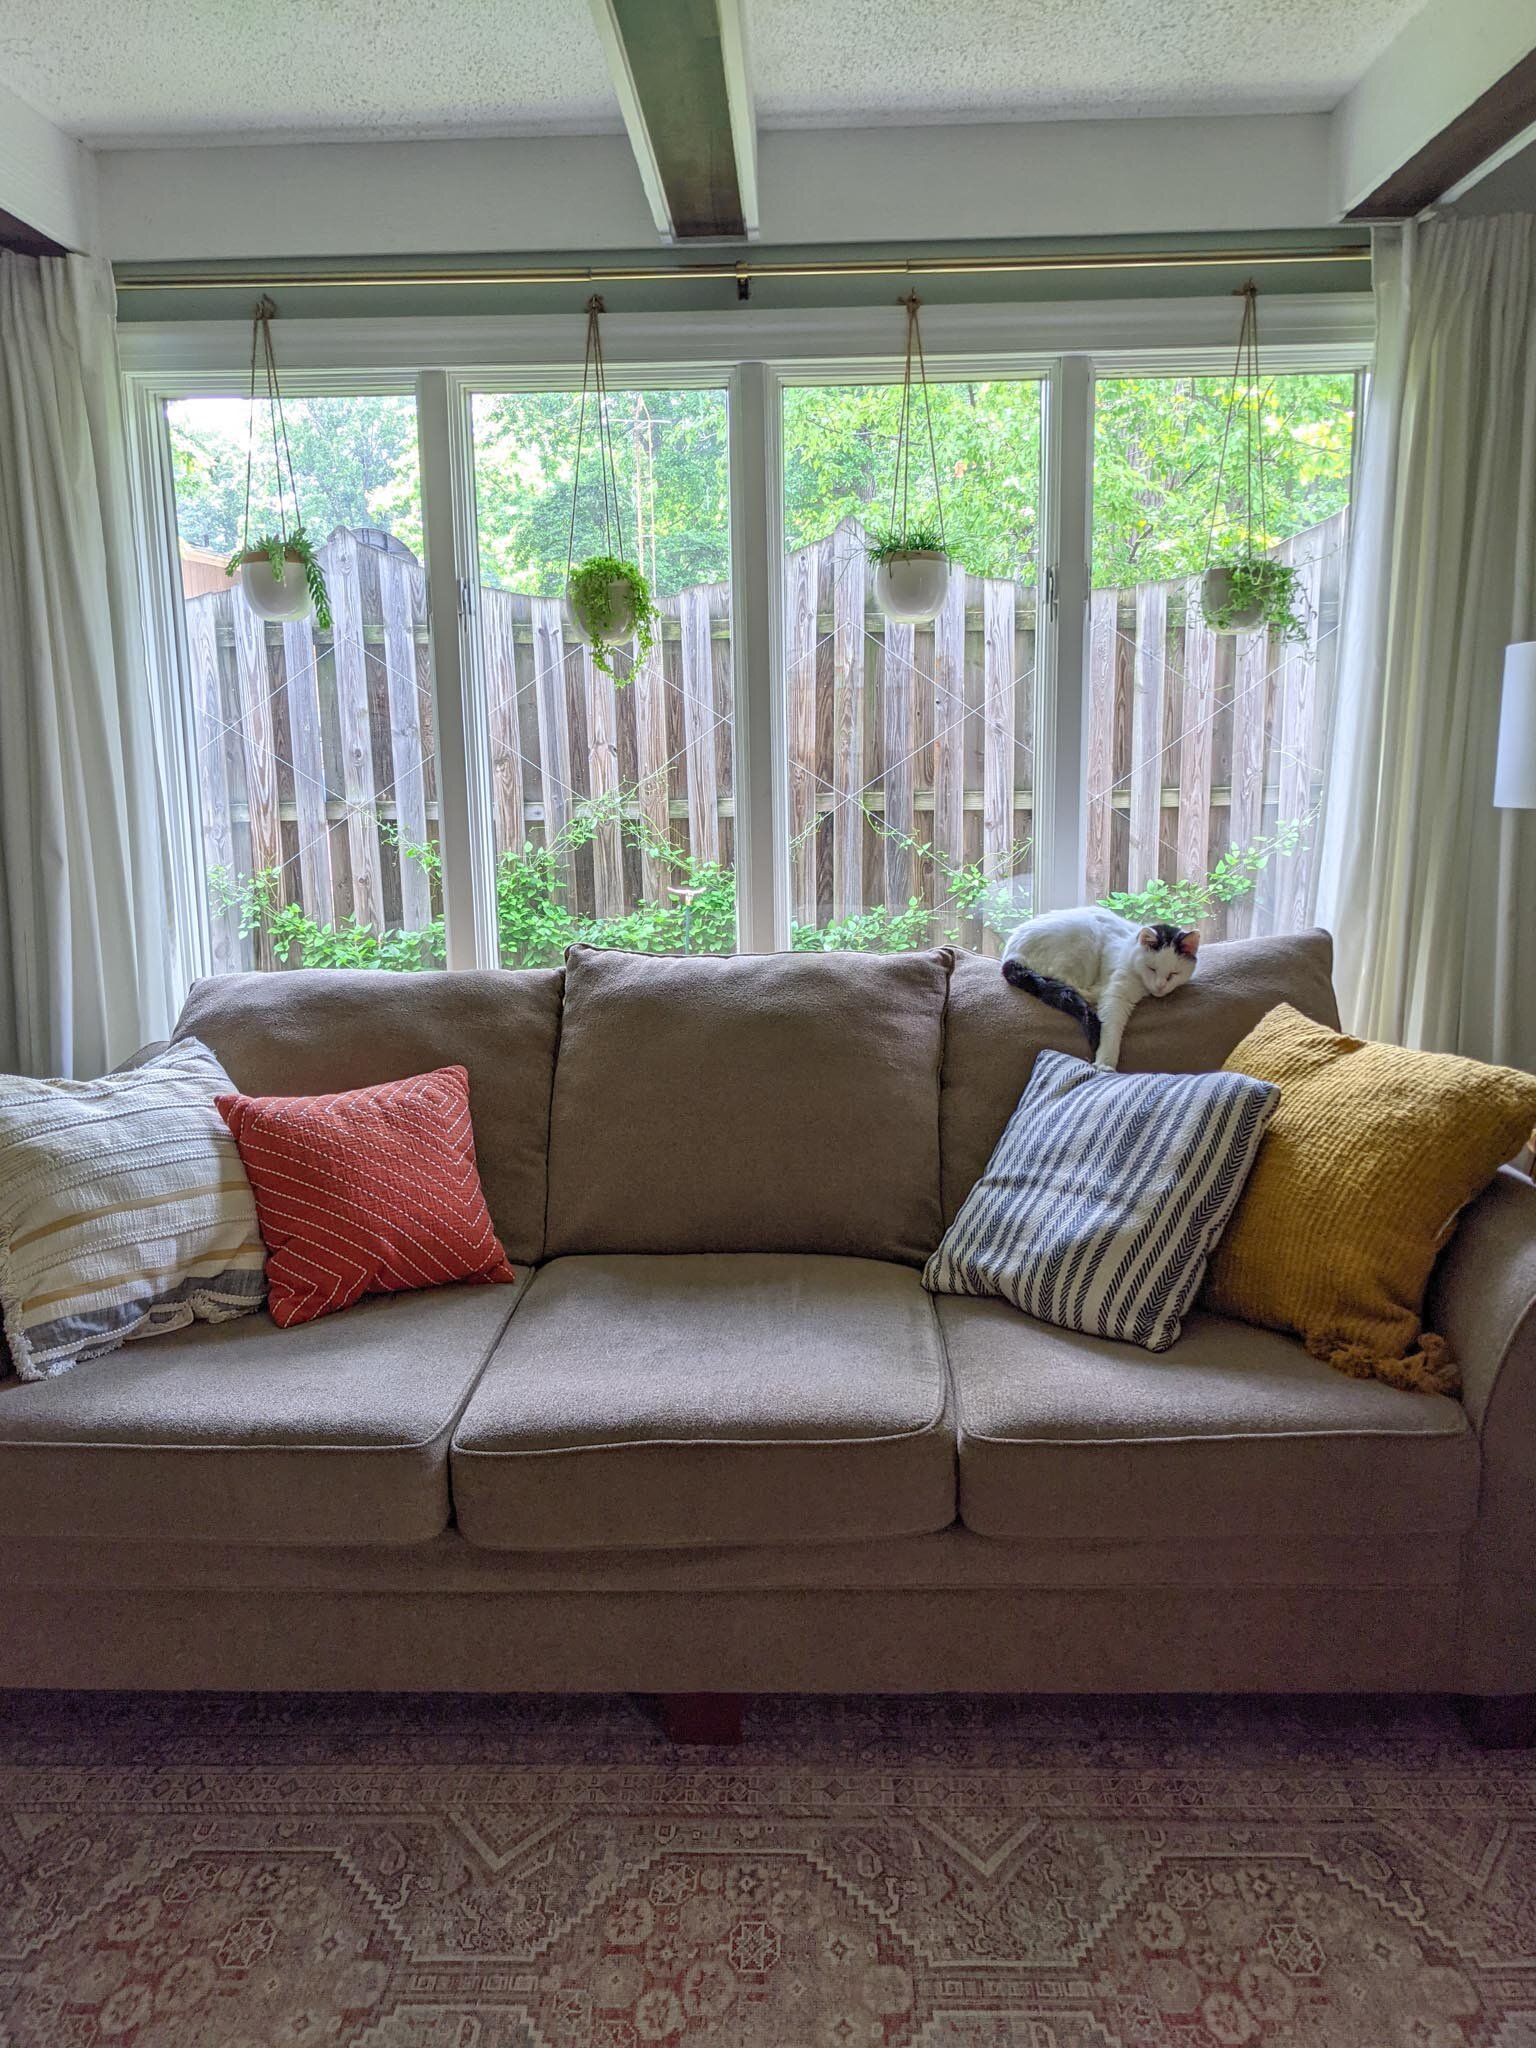
I love that our house has a privacy fence, both for wrangling the kids and the dog and for, ya know, privacy. What I don’t love is that there’s one pretty much directly outside our living room windows.
While I’d prefer looking at the privacy fence rather than looking right at the neighbor’s house, it’s not exactly the prettiest view.
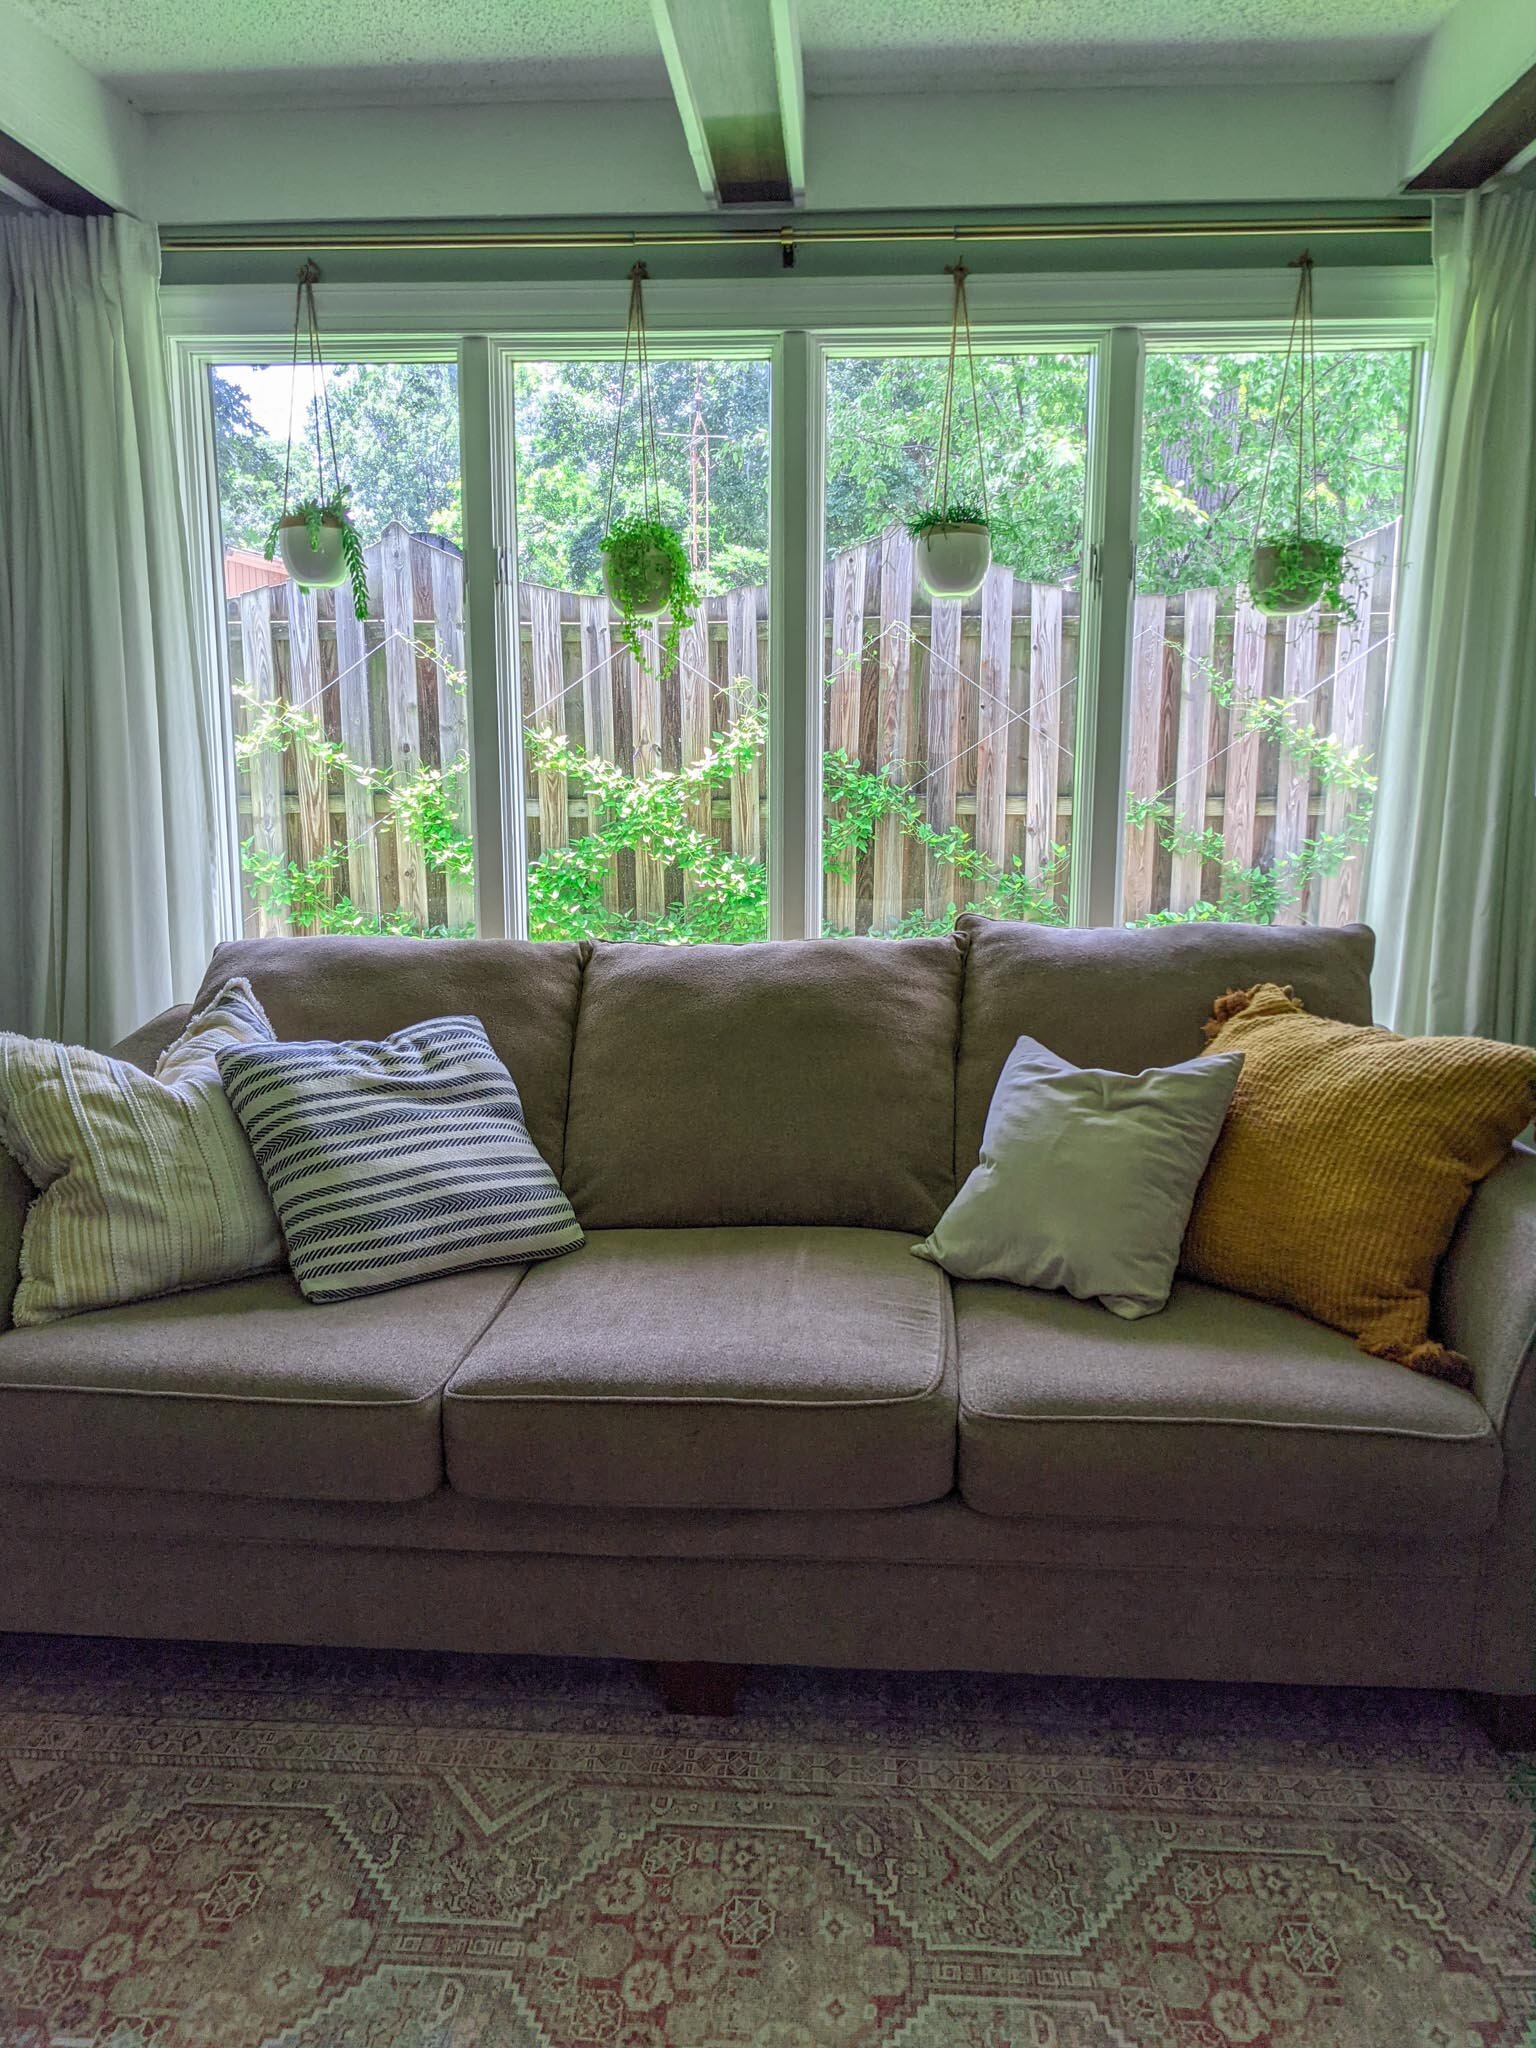
Last summer was our first year in this house. And while I envisioned building a trellis with climbing vines on this fence, we were already deep into several other projects (here’s lookin’ at you, master suite renovation) and a lot of the exterior updates fell by the wayside. But this year I made it a priority and I finally have a trellis to pretty up this view! And some clematis vines who have happily made it their home. Here’s how I did it.
As an Amazon Associate, I earn from qualifying purchases. This post may contain affiliate links, meaning I receive commissions for purchases made through those links, at no cost to you.
Materials
- 1/16th Galvanized Steel Wire Rope (I used 100 ft)
- 1/16th Aluminium Ferrules (My design only needed 4)
- Wire Cutters
- Wire Crimping Tool (You can use pliers too, but I didn’t have quite enough force in my little lady hands to crimp the ferrules by myself using pliers. The hubs had to step in for that part.)
- 2” Screw Eyes (I used 18)
Planning
You can most definitely jump into this project without any preparation, but I’m a planner through and through. Before I got started, I mocked up my design on the old computer. I knew I wanted a diamond pattern, but because of the style of our fence, I didn’t have a ton of options for the design. Here’s what I came up with:
Build Your Trellis!
Screw in Your Screw Eyes
Once I had my design nailed down, it was just a matter of putting it all together. I started by screwing in my screw eyes at specific intervals, indicated by the coral-colored dots below.
My design extends past the edge of the picture, but you get the gist.
String the First Ferrule and Screw Eye
Next, you’ll attach the beginning of your wire to the first screw eye using a ferrule, which is these little things.
To do this, you’ll thread the wire through one side of a ferrule. I didn’t take a picture of this part of the process while I was doing it, so I recreated it to snap some photos for you lovely folks.
Then thread the wire through the screw eye.
(The example below isn’t a screw eye, but it has the same looped piece. You get the idea.)
Next, string the wire through the other side of the ferrule.
Finally, you’ll crimp the ferrule so it holds the wire tight.
Done!
Thread the Wire Through the Screw Eyes
Once your first screw eye is threaded and the wire is secured tight, you can thread your wire through the rest of the screw eyes. I did this using two 50ft lengths of wire partially because I ran out of screw eyes and had to get more, but the shorter length of wire also helped keep it from tangling.
Once you reach the end of the wire, you’ll follow the same process of attaching a ferrule. It helps to have an assistant here so one of you can make sure the wire is pulled taut while the other attaches the ferrule.
Conclusion
And it’s as easy as that! Now you have a trellis and you can plant your plants!
I cleared out a small area in front of my fence to plant four cute little clematis vines (I think they’re sweet autumn clematis) in early May and just a couple of months later they’ve grown in so well!
Every day I walk out to visit the vines and train them to climb up the trellis while whispering sweet nothings. I’m already loving the view 1000% more than I did last summer. Once the vines bloom, this fence should be filled with beautiful green leaves and little white flowers, and I.CAN’T.WAIT.


