Easiest DIY - How to Frost Windows
/How to Add Privacy to Windows Using Vinyl
So it’s official. We’ve been using our newly renovated master bathroom for about a month now and it.is.amazing! While I definitely owe you all a bathroom reveal post, that’ll have to wait. But what couldn’t wait in order for us to start using the bathroom was frosting the windows.
And let me tell you - frosting your windows is the easiest DIY ever!
Way easier than I anticipated, and inexpensive too! So in today's post, you’ll learn the step-by-step process to frost your windows so you can do it too!
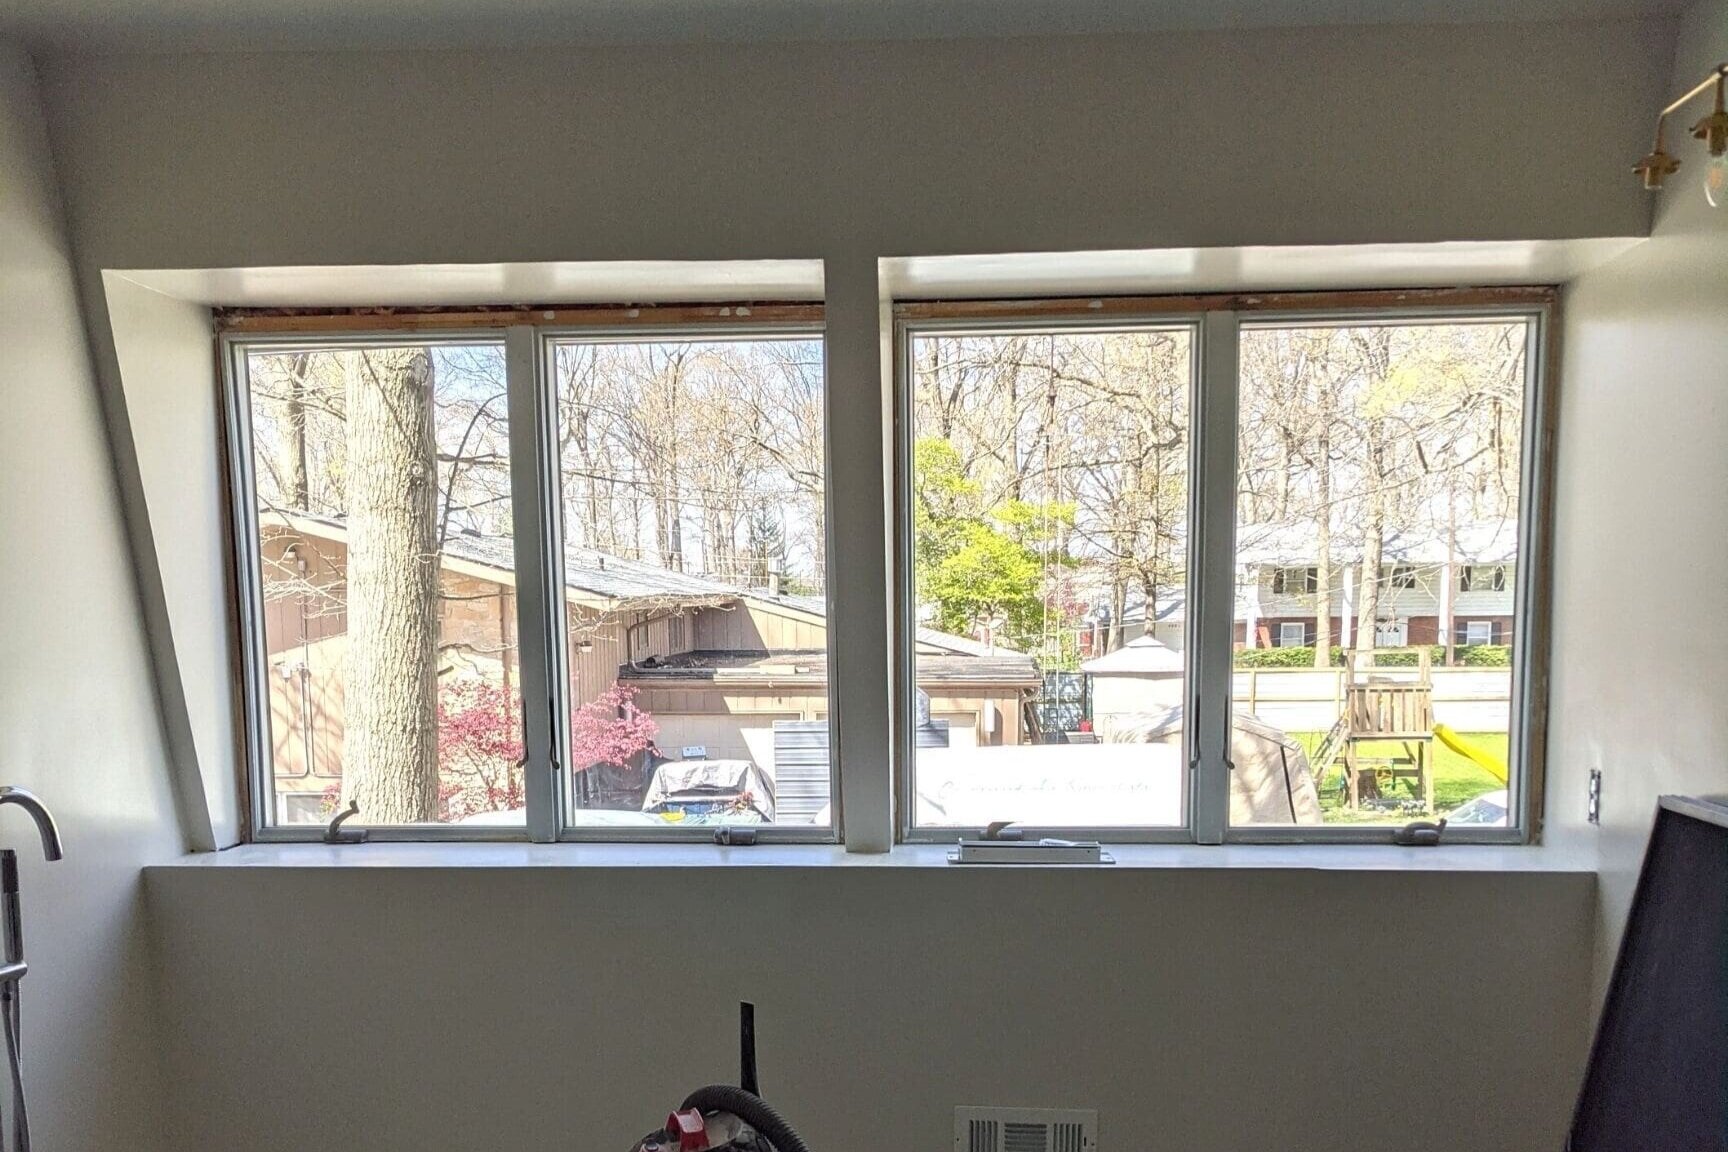
We have four large windows across one entire wall of our bathroom.
I love the natural light they bring in, but obviously don't love the idea of everyone and their mama being able to see directly into my bathroom. So I took a little bit of time and knocked out this shockingly quick and easy DIY.
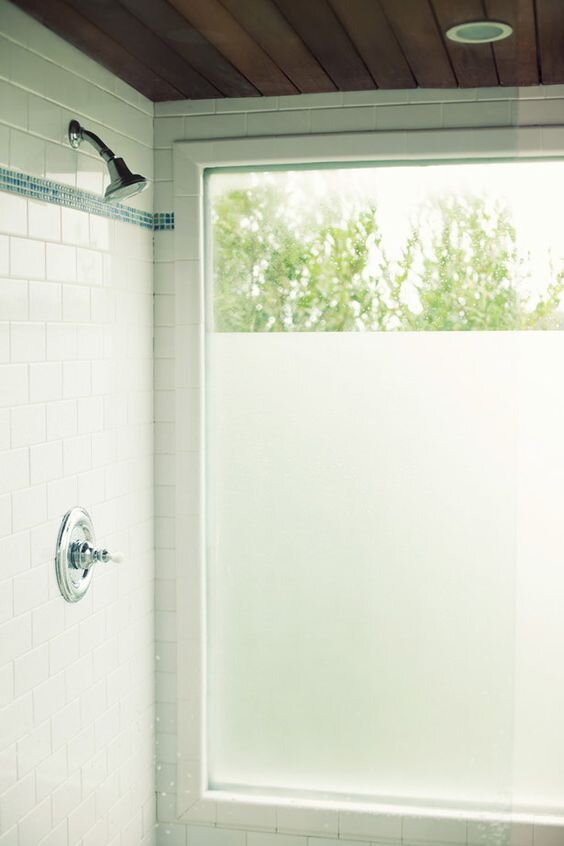
When I shared the mood board for the master bathroom, I included this inspiration picture.
I love how these windows are frosted for privacy, but still leave some of the window exposed to the outside. I knew I wanted to try the same effect - I just had to figure out the best way to go about it.
As an Amazon Associate, I earn from qualifying purchases. This post may contain affiliate links, meaning I receive commissions for purchases made through those links, at no cost to you.
Options for Frosting Windows
During my research on exactly how to go about this task, I discovered there are actually a couple of different methods for frosting your windows.
Option 1: Clear Contact Paper
One option is to use clear contact paper. I steered away from this option though for a couple of reasons: 1 - contact paper isn't wide enough for our windows so I was afraid there'd be visible seams. 2 - I was nervous how well it would stick long-term in a humid bathroom.
Option 2: Frosted Spray Paint
Alternatively, you can use frosted spray paint that is made specifically for this purpose. Although spray paint wouldn't have a problem adhering to the windows, I was concerned with the thought of overspray, especially since I just painted the walls and the floors are installed. There would have been a lot of prep work involved to protect the surrounding surfaces.
Option 3: Vinyl Frosted Window Film
Then there's the option of vinyl frosted window film, which is what I used. And man, I'm glad I did! Here's how I did it.
Materials
- Ruler
- Pen/Marker
- Scissors
- Vinyl Frosted Window Film
- Squeegee (or credit card)
- Utility Knife
- Spray Bottle
- OR, instead of buying the last three items individually, just grab an all-in-one application kit
Step 1: READ THE INSTRUCTIONS
These instructions cover the method I used for the vinyl I bought and the end product turned out fantastic. That doesn't mean that all window vinyl will work the same way. Please make sure you read the directions on the product you buy before beginning.
Step 2: Cut the Window Film to Size
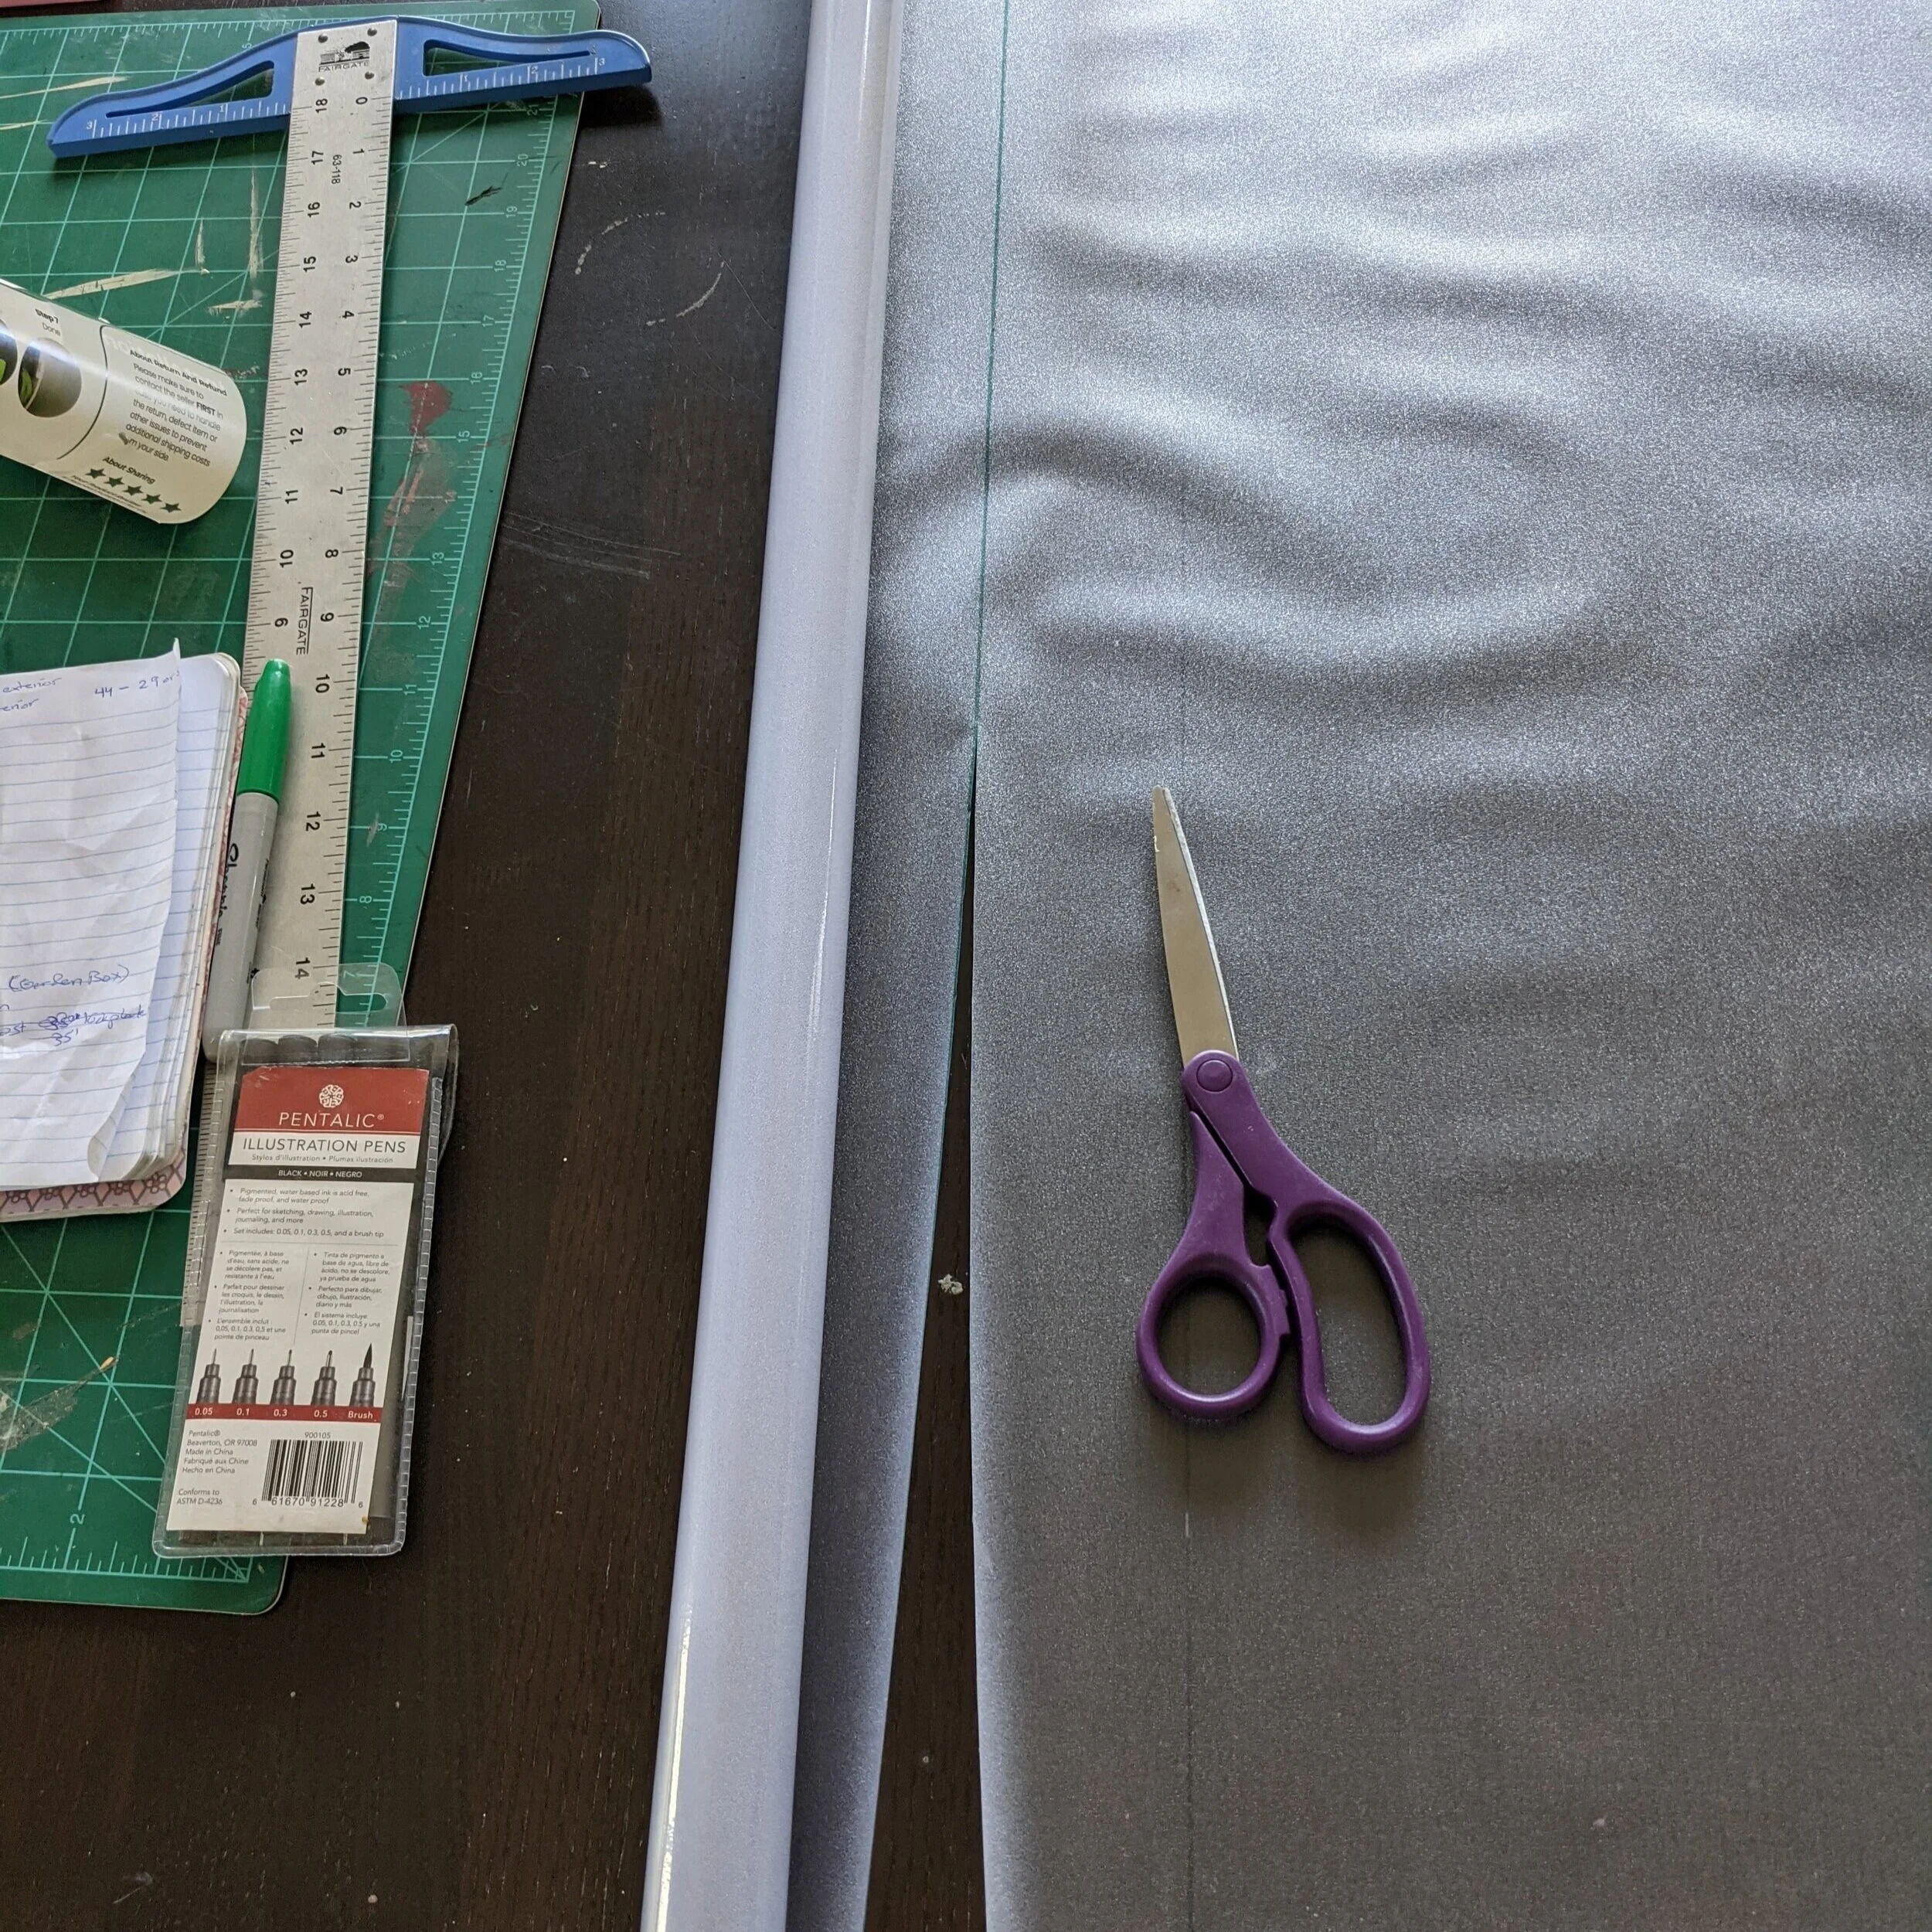
First thing's first: measure, mark, and cut each piece of your window film with scissors. Since I wasn't covering the entire window, it was really important for me to make sure my pieces were square (or so I thought… wait for it!).
I used a green Sharpie in the example to mark where to cut so you could see, but then I switched to a micron pen after realizing the Sharpie might be visible on the window film once I put it up.
I recommend cutting your film a little bigger than your window since you can trim off any excess once the vinyl is applied.
It's also never a bad idea to do a dry fit before the real deal. This is where I realized the size I was cutting my vinyl to be was ultimately a square so my perfect measurements and straight cuts didn't matter since I just used the factory edge as my top and bottom. Any excess that hung off the sides was cut off after the vinyl was applied.
Step 3: Thoroughly Spray the Window with Water
Using the spray bottle, spray the bejeezus out of the window. Even the instructions say that more water is better, and I agree! But don't fear, if you find that after you initially put your vinyl up you need more water, just peel it back a little a spray some more. This stuff is super forgiving!
Step 4: Stick Your Vinyl on the Window
Now you'll need to peel the backing off the vinyl and stick it to the window.
I read that if you're having trouble peeling the back off, you can put a piece of Scotch tape on the backing and the vinyl and pull it apart. I tried this and it didn't really work, but it wasn't too difficult to get my fingernail between the two and separate them.
Once the vinyl and backing are separated, stick the vinyl to the window.
I was expecting the vinyl to act more like peel and stick wallpaper, wanting to stick to everything it touches and not wanting to let go. But no, I mean it when I say this material is insanely forgiving.
All you have to do is get semi-close to the window and the static pulls the vinyl toward it.
For the look I was going for, I stuck the vinyl as evenly as I could, then just slid it to the bottom of the window so the edge lined up perfectly. Here’s a quick video showing my process.
Step 5: Squeegee Out the Bubbles
Using your squeegee or credit card, push the bubbles to the edge of the window film. Make sure you get them all. Applying your vinyl at night might make it easier to see all the bubbles!
Step 6: Trim off the Excess
Finally, you'll trim off any overhang using your utility knife. Make sure it's a sharp blade! I found that when I first started cutting, it wanted to pull the edge of the vinyl with it. So I pushed my squeegee to the edge of the vinyl and used that to hold it in place while I cut. This also helped make sure my cut stayed straight. I shot a quick little video of this part too to demonstrate.
Final Thoughts
And that's it! Four windows took about 30 minutes and it makes a huge difference! The bathroom still gets just as much natural light as it did before, but now we have the privacy a bathroom needs.
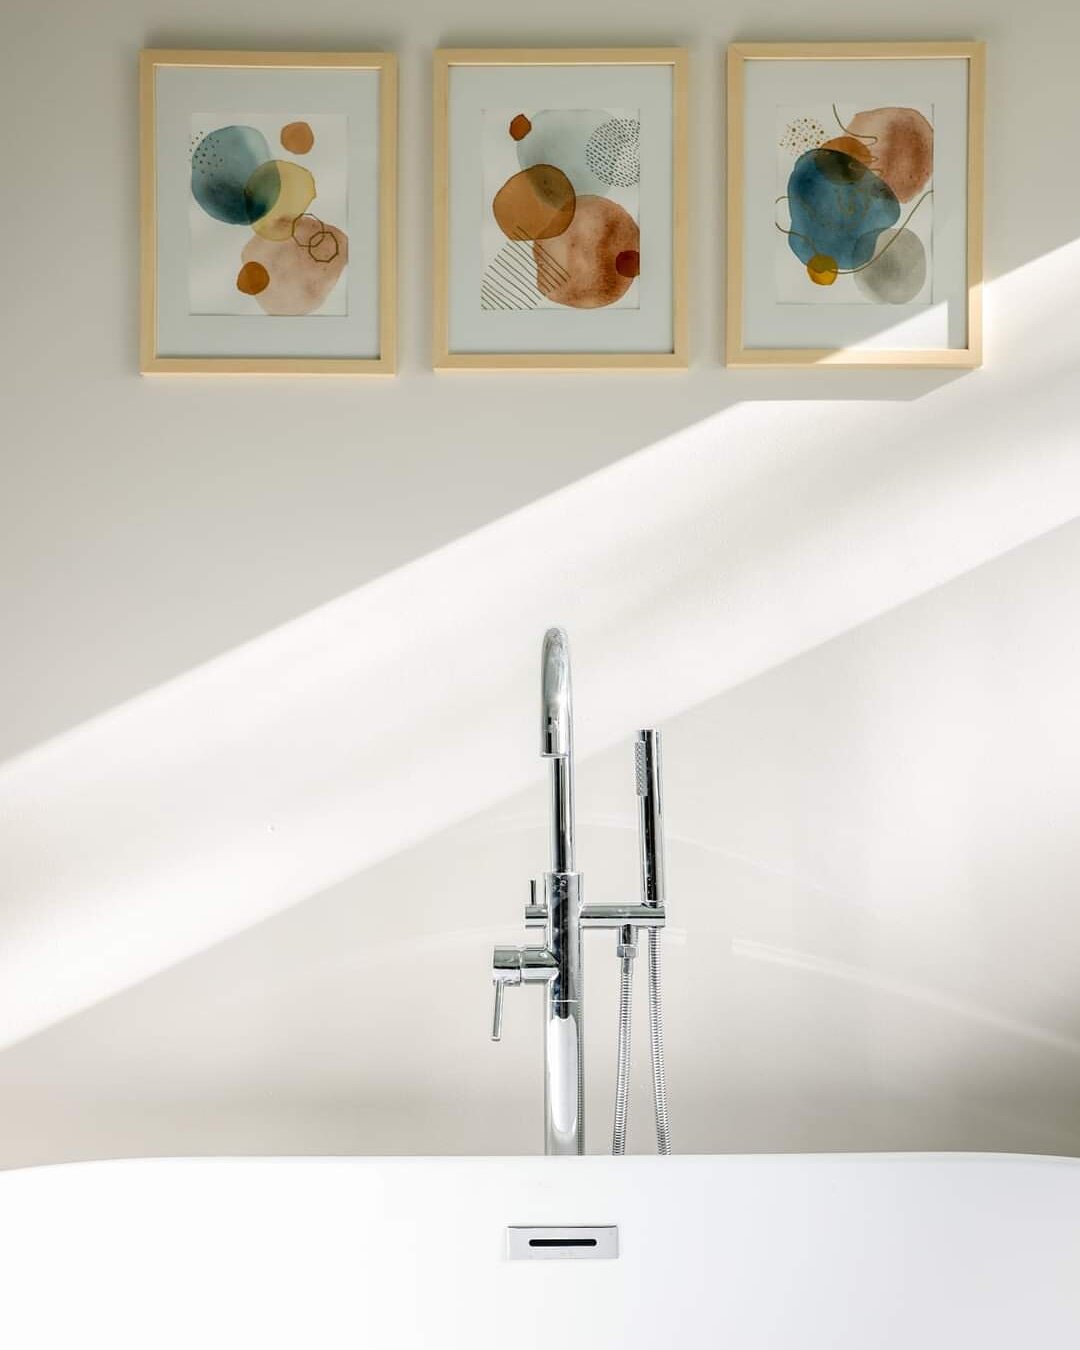
Plus, the film disperses the light from the sunset so gorgeously in the bathroom in the late afternoon/early evening hours. I mean, just look at it!
Since I’ve frosted the windows, I’m happy to report that they’re holding up to the humidity perfectly. And yes, we’ve tested how much you can actually see from outside and the vinyl does a primo job of blocking any risk of a peep show.


